Tag Archives: AnimatedGIFAssignments1191

Ewww Brain… Now in 3D!

My DS106 maxim of Reduce, Riff & Recycle has once again resulted in a fun, creative morning project.  Ewww Brain… Now in 3D!

3DGIF_SharkBoy_Lines-fb

Last August,  DS106’s Talky Tina created daily GIF challenges to keep our creative juices flowing while we were waiting for the DS106 Headless ’13 course to begin.

Talky Tina’s DS106 animated GIF challenge August 2013 GIF Challenge #10: Monster Chiller Horror Theatre 3D Style GIF  was to:

…look for a part of a scene in a 3D type movie where the thing comes right out of the screen at you.  Find a way to emphasize the moving of the thing out of the screen and into your face in a GIF.

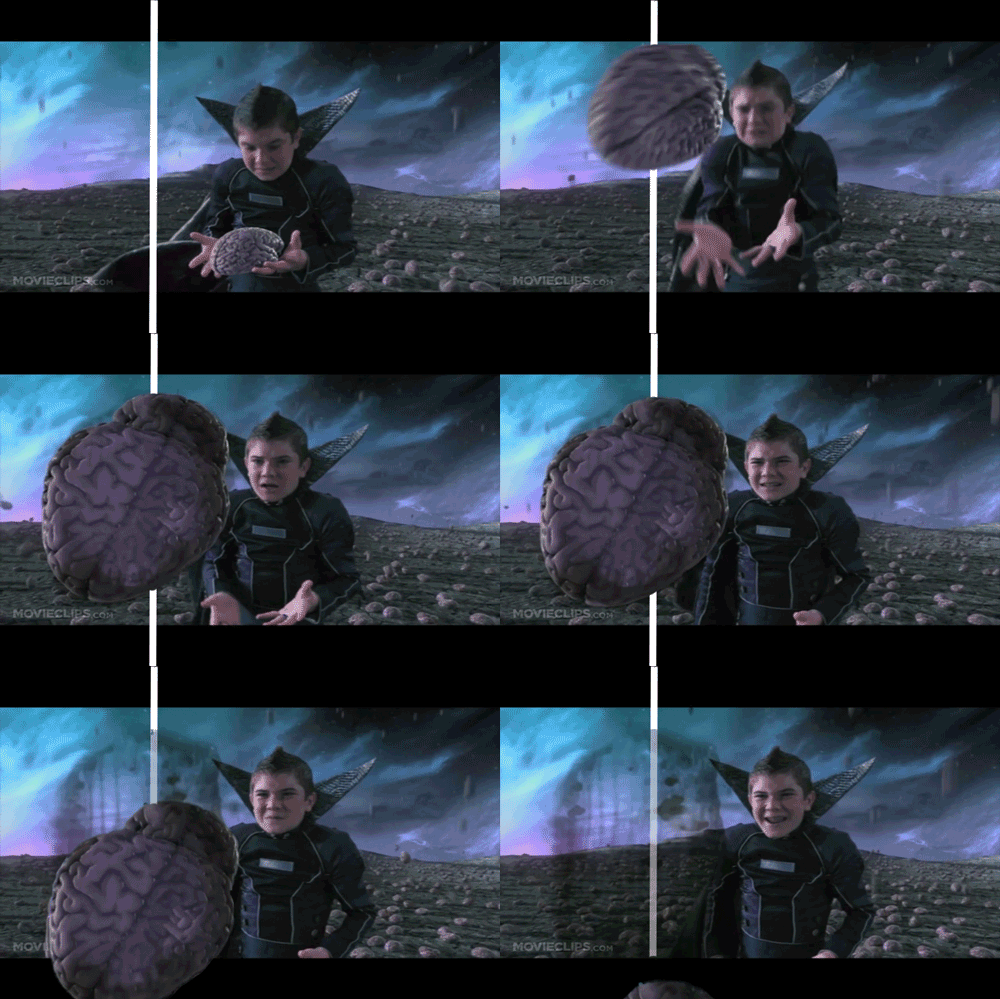
 Ewww…Brain! was my answer to the challenge taken from a  Sharkboy & Lava Girl- May The Best Dream Win movie clip on YouTube. (Link to original blog post for the ‘how it was made.’) Today while trolling my Twitter home stream a DS106 exchange about how to make a 3D GIF with the use of white lines caught my eye. (See twitter feed below.) The illusion reminded me of John Johnston’s GIFaChrome Layercake technology  that I hadn’t tried yet. I decided to give it a go andd watched the video tutorial recommended by Mariana Funes.

Using the original Photoshop CS5 file from the Talky Tina challenge I created one white (two seemed excessive) mask line.  I’ll be honest.  I’m not sure how I managed to create a layer mask instead of the intended solid white line demonstrated in the video tutorial.  But who’s going to complain? It made things much easier in the Studio B production department this morning.  Lucky me!

Next, all I had to do was erase the portion of the line where the brain was popping out of the screen. Hmmm…. What to do with the brain goo as the brain slides down the screen?  That presented a creative challenge all its own. It looked way cooler if I adjusted the erasing opacity to 50% instead of 100% to enhance the illusion of sliding down a glass surface.  One final visual feature was to use the lasso tool to cut out a brain and have it slide down over the black border of the movie trailer clip.

Looking forward to using this technique in the future.  Below is the Twitter conversation that sparked this project.

Ewwww… Brain!

3DGIF_SharkBoy

Ewww… Brain! Scene from “Shark Boy and Lava Girl”

Talky Tina’s DS106 animated GIF challenge August 2013 GIF Challenge #10: Monster Chiller Horror Theatre 3D Style GIF for today was to:

…look for a part of a scene in a 3D type movie where the thing comes right out of the screen at you.  Find a way to emphasize the moving of the thing out of the screen and into your face in a GIF.

3DGIF_SharkBoy

Ewww… Brain

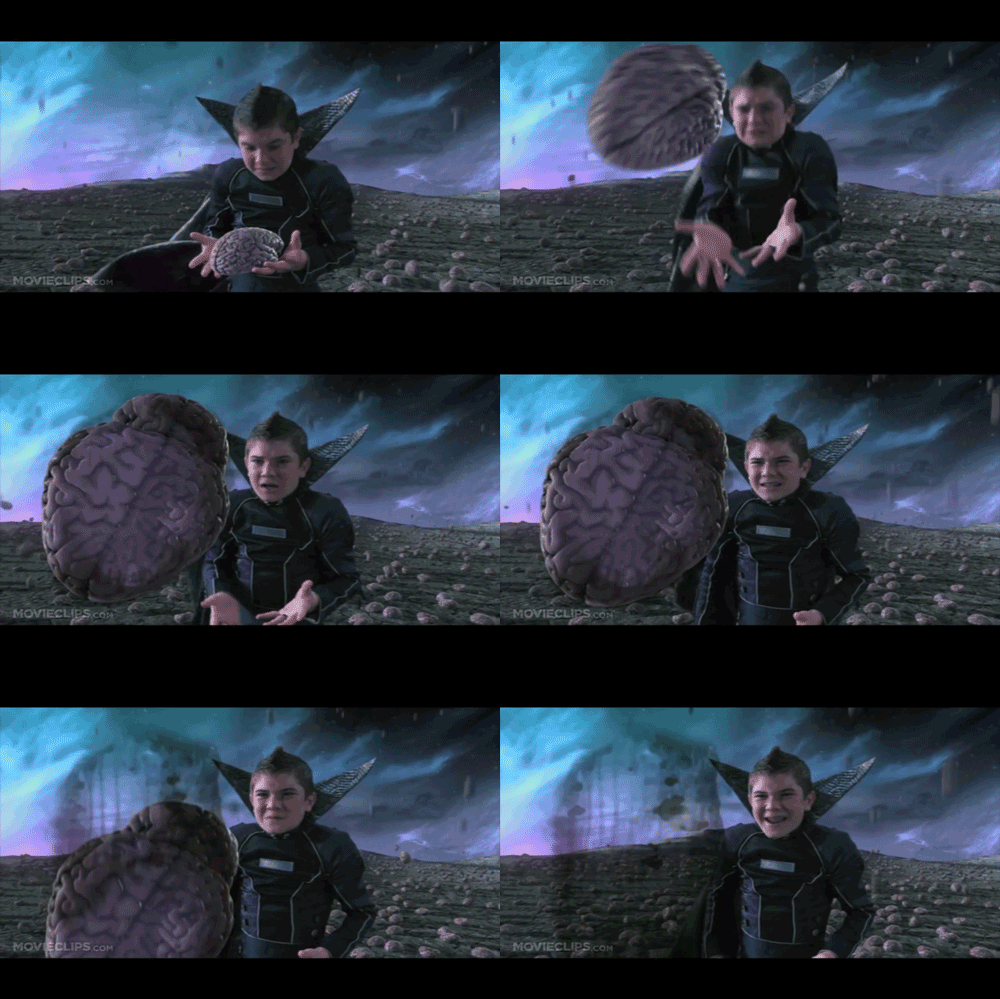
This one was easy.  I started with a YouTube search on 3D movies.  A bunch of movie trailers popped up right away, which I knew would have the good stuff.  Sharkboy & Lava Girl- May The Best Dream Win won.

I’ve just recently discovered the wonders or the full Photoshop CS5 software for creating GIFs. [Technology is Great! (When it works.)]  But as ‘luck” would have it, I have a 64-bit operating system on my PC based laptop and Photoshop won’t allow me to import video frames as layers unless I use a 32-bit OS.  Arrrrgh!  That meant I had to do some unexpected futzing around.

I downloaded the video clip using the downloader add-on for Firefox and placed it into Adobe Premiere Elements on my Mac.  From there I selected the short segment I wanted to use and exported it as a sequence. [ “Hula Hot Seat” will step you through the process.]

Since I am using both a PC and a Mac, (different software versions are at the moment residing on different computers.) I uploaded the JPEGs to my Google drive so that I could transfer them easily from computer to computer as needed.

I imported the photos into the full Photoshop on my PC, but again hit a bit of a snag because I couldn’t figure out how to easily move each of individual photo images into a new layer in one consolidated project file to be used to create the GIF.  I ended up tiling 10 images at a time and dragging each layer over. But oh no… does the fun end there?  Of course not! When I did the moves manually like that they were not aligned properly, and I had to go back in and manually align all 40 images layers.  Fortunately, I hadn’t messed with the formatting of the images, so the snap function for alignment kicked in and it went rather smoothly, all things considered.

The final step was to create the animation layers.  There was no need for merging of layers, as I wasn’t adding anything to the original image clip, and that alone made the project much less complicated than:

I most likely could have made this GIF in my limited Photoshop Elements on just my Mac. Oh well, I’m enjoying learning how to use the software. And I’m getting better and better all the time as I practice and come to terms with the advantages and limitations of each digital story telling tool that I use.

I’ve included the full movie trailer below for your easy viewing pleasure.