- UPDATED POST:
I can’t believe I didn’t hear some smack talk with respect to my originally published version of this GIF. What was I thinking? Not including DS106? I’ve fixed it!!!!
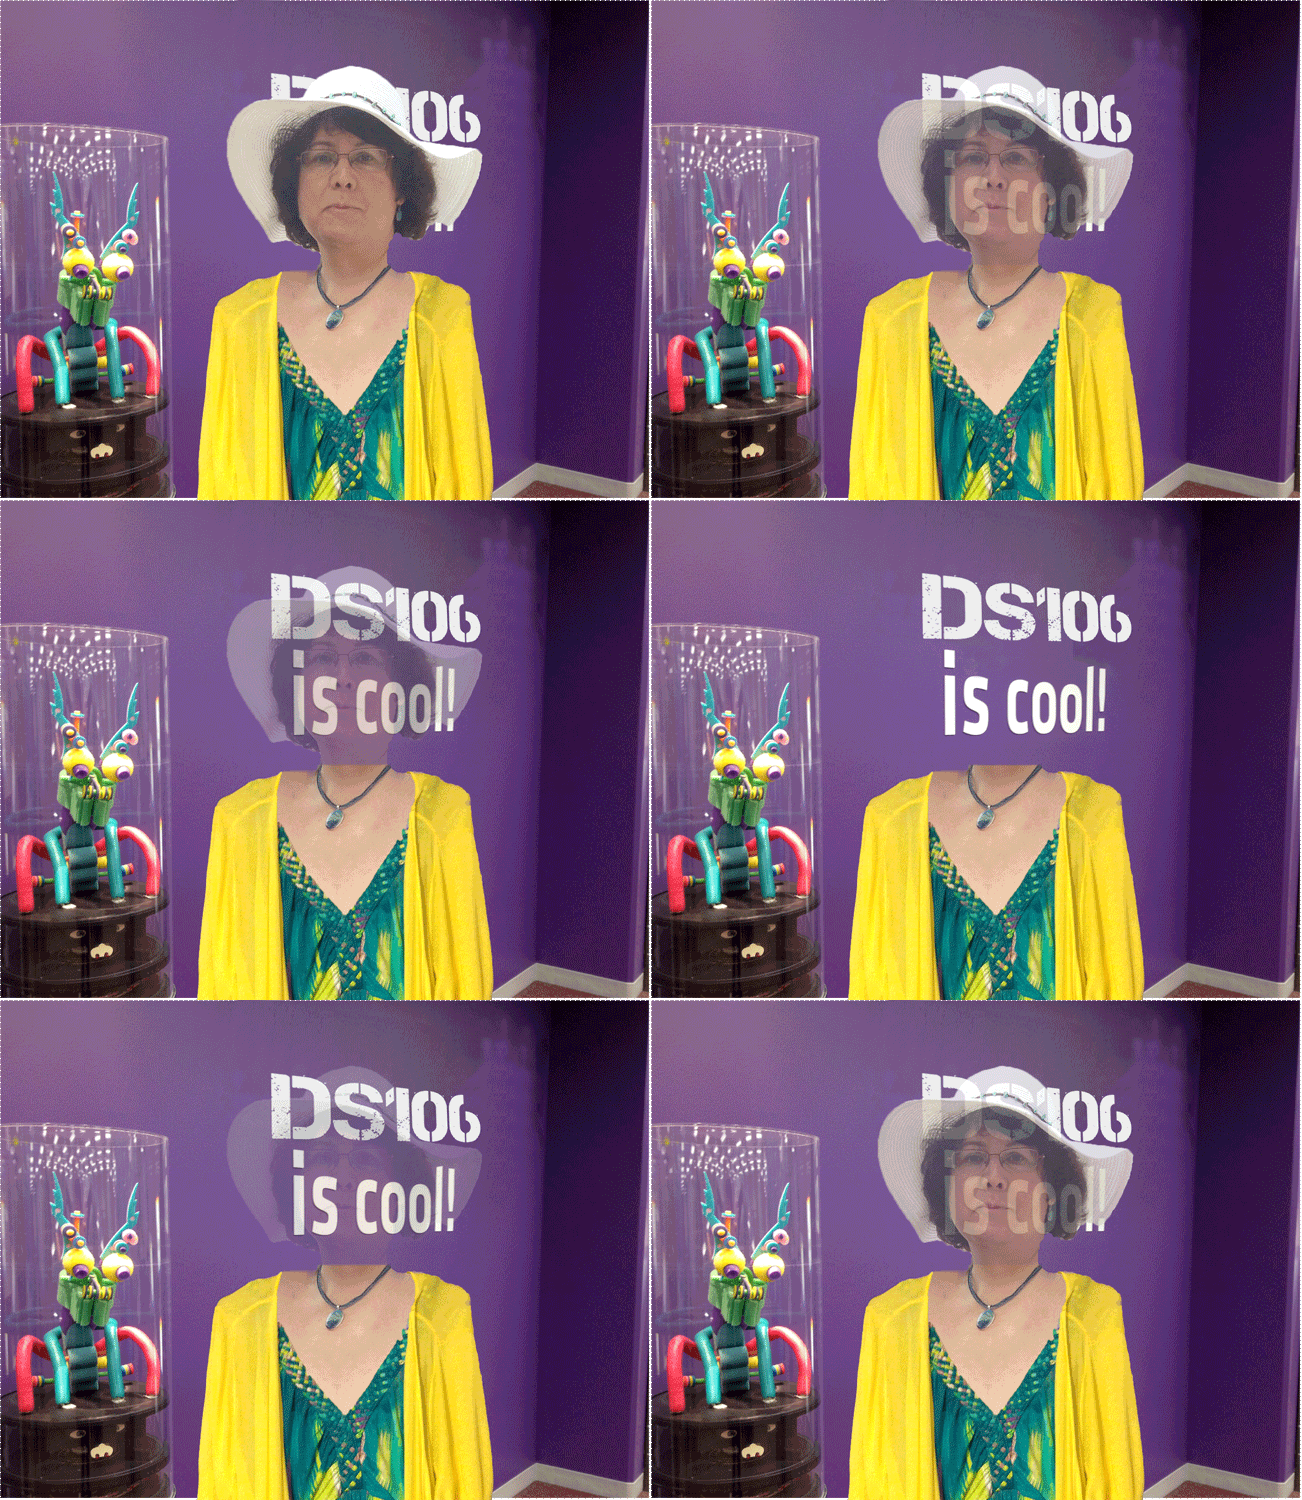
DS106 Headless Rockylou is Cool
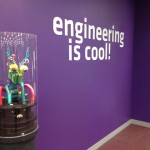
TalkyTina Hulka has given the Headless ds106 Fall 2013 participants an animated GIF challenge for the month of August. Her first “assignment” was for us to create an animated GIF to show our headless self. [Link to TalkTina’s example] 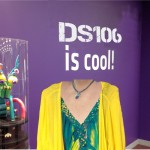 I took pieces from three different photos to make the final GIF. (See below) I like my yellow & blue dress, but I don’t have any good photos of me wearing it. I knew, however, that I had one of the dress hanging up and used that instead. I used the quick selection tool in Adobe Photoshop Elements 11 to grab the dress and my head and neck from the photo of me with my daughter Jenny at her PhD graduation this May. The final, “engineering is cool!” photo was taken from a set of photos I had from a 3M Visiting Wizards demonstration day at a local children’s interactive museum, “The Works” here in the Twin Cities. [Link to video I created about the fun of the day.]

 The trickiest part of this GIF was getting my chest from the graduation picture to be as broad as the neckline on the yellow/blue dress. I copied a piece of my chest, duplicated it and placed it on either side of my original neckline, merged the layers, and used the bandaid tool to blend them. Since there are no arms with the dress, I had to strategically crop the final GIF images so that you wouldn’t notice that. The head fades with 100%, 80%, 60%, 40%, 20%, 0% layer opacity. Then everything was merged onto a purple background slide.
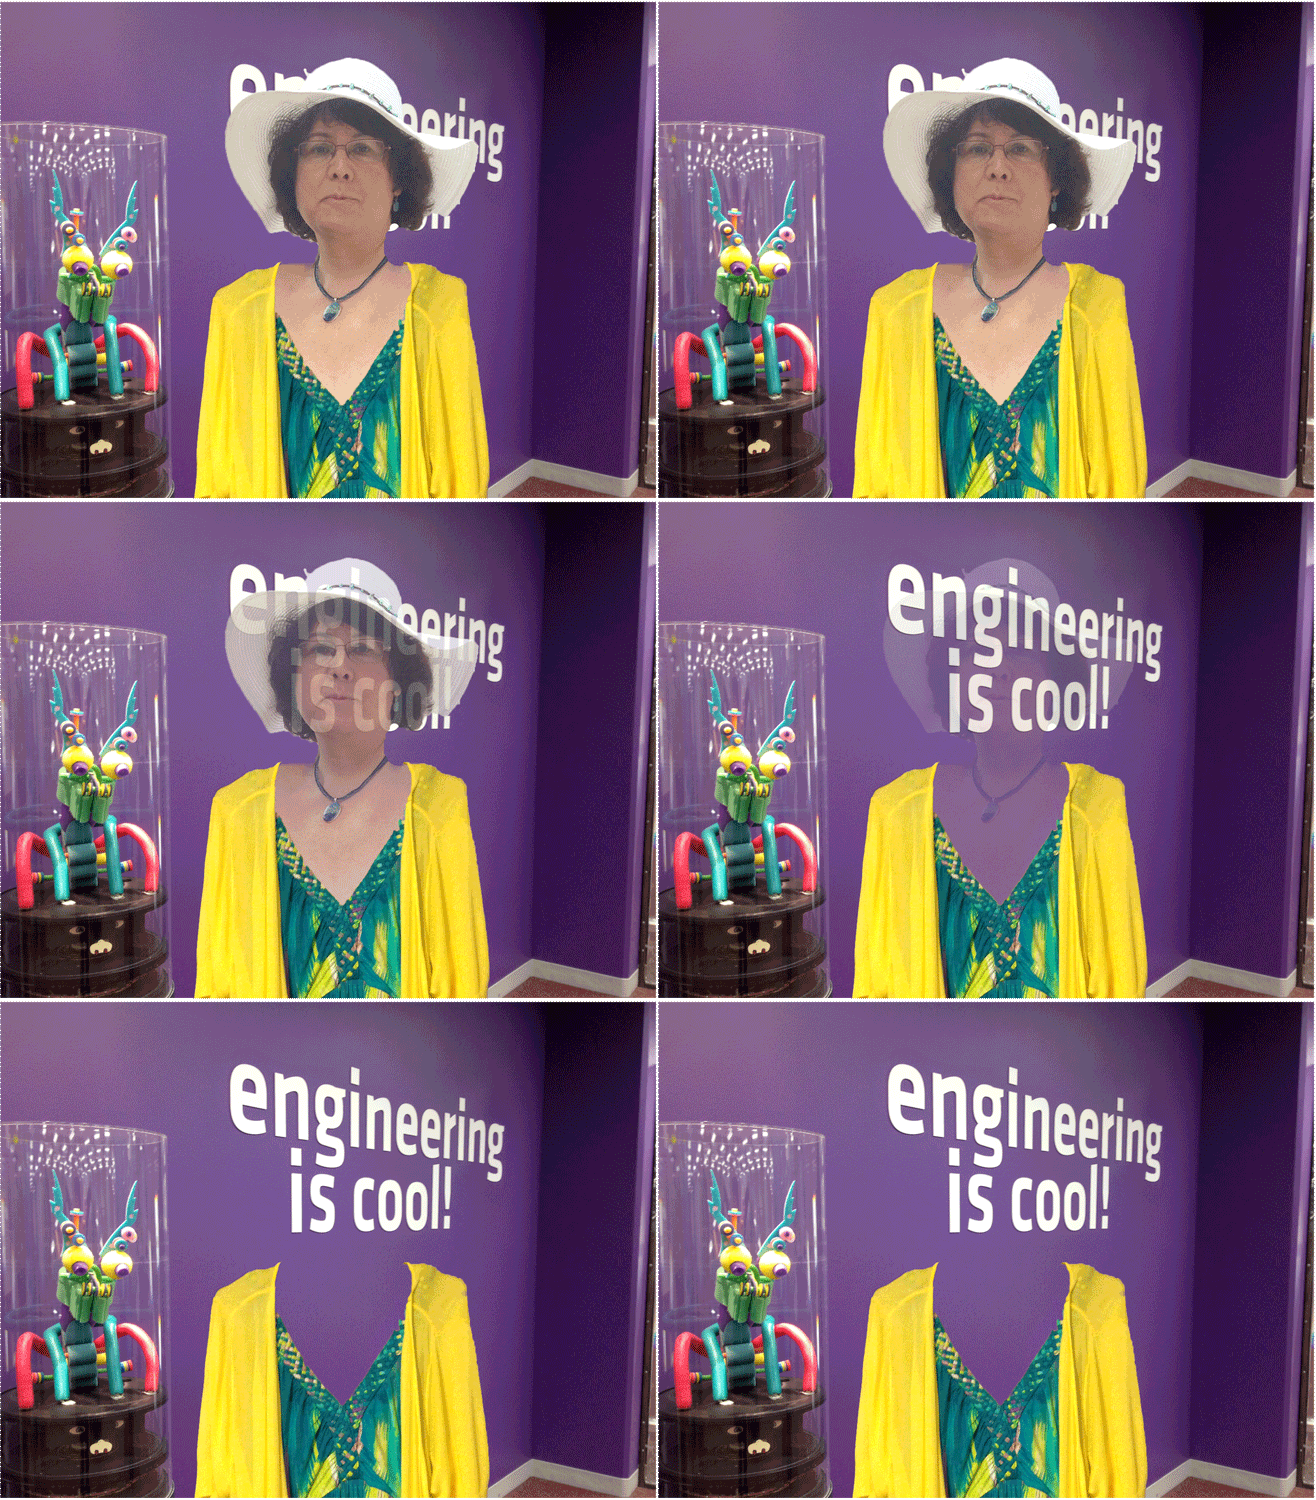
Version 1: Headless & Neckless Rockylou – first GIF attempt
I made two three versions of my headless GIF. Here is the first version that had my entire neck and head disappear. This looked especially creepy, and not the effect I was going after. It looks like I am disappearing rather than just becoming headless.
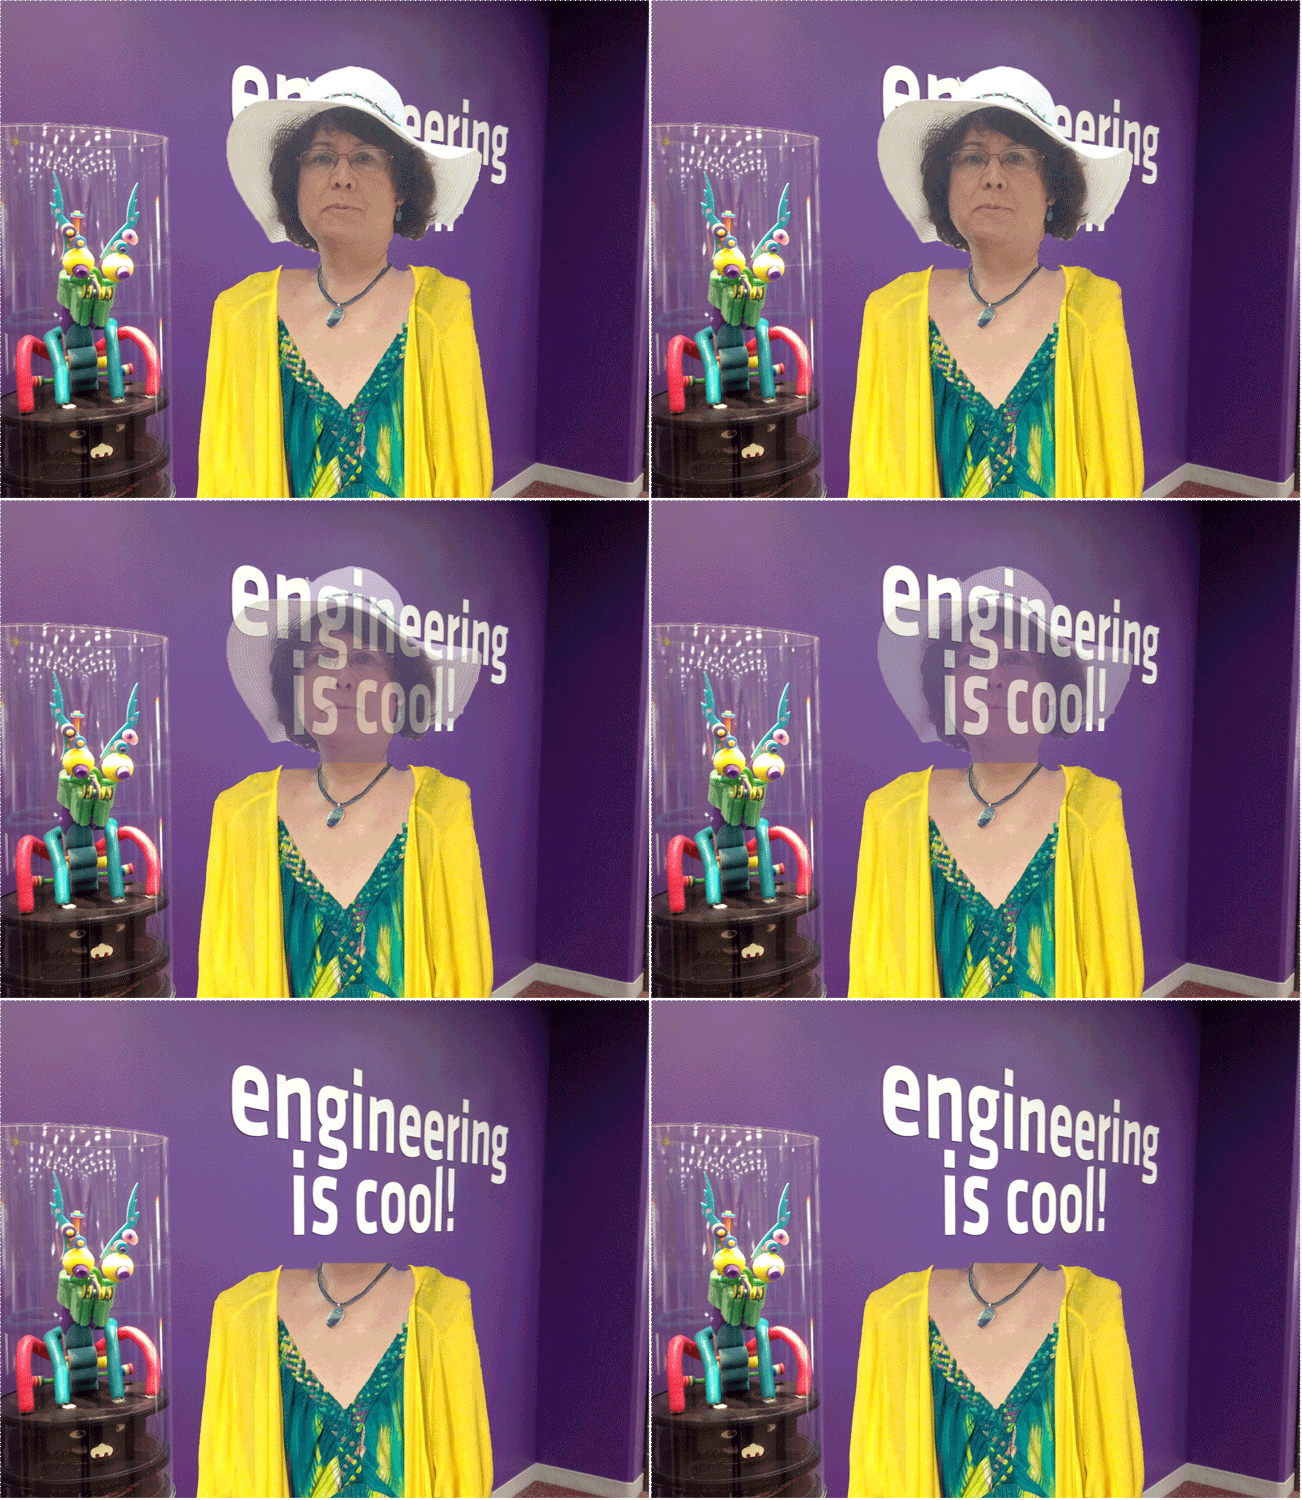
Version 2: Engineering is Cool. But where is DS106?
UPDATED POST: Version 2 had only the head disappearing. Nice but still not right after I sat with it a little longer. Yes, I work in the 3M R&D labs and think engineering is cool. But this GIF is supposed to be about Headless DS106. What was I thinking?  VERSION 3: I really needed to replace “engineering” with the DS106 logo from the website. I selected & copied the purple area above engineering to create a new layer. I then stretched it and used the bandaid & clone tools to delete the unwanted text but keep the purple wall. I had to do some merging of layers, cloning, and applying more bandaids to get it to look nice. You’ll notice the upper right wall is still a little mottled. I’m going with it gives more interest to the photo… and that’s my story and I’m sticking with it!

Skewed Text On The Wall
To add the DS106 text, I have a png version of just the lettering (A png file maintains transparency unlike a jpeg.) that I made awhile back and keep on-hand just for these types of occasions. Oops… I couldn’t just add it directly onto the image. If you look close, the way I took the original photo resulted in a skewing of the lettering on the wall. Nice effect for a photo, but when I want to hack my photo and add new text, I have an issue.

Skewed DS106
The problem was solved by adjusting the DS106 layer with the Image=>Transform function. I placed the DS106 layer over the original text and adjusted it until it looked about right tapering down from left to right. I hadn’t done this before so it took some trial & error.
One last change to version 3 was to make a continuous fade of my head in and back out. Whereas versions 1 & 2 only faded out. That made for a jumpy transition that I wanted to fix. I simply duplicated the fading head layers and extended my loop. I would suspect that there is an easier way to do this with the full version of Photoshop, but I only have Photoshop Elements. The final version is below.

Version 3: DS106 Headless Rockylou
DS106 PNG Files for download


 The Rockylou Productions logo was created by my daughter, Amber Lockridge, as a surprise gift for me back in October of 2012. It was fun to animate our webheader to create this Under Construction GIF. It was a simple cut, copy and pasting of the letters and parts into different layers using the full version of Photoshop. Once the layers were in place, selecting the appropriate layers and timing to be visible during the animation sequence. Nothing to this one.


