This is a repost from an internal 3M blog by “WS”, 3M-DS106 Salon member
How do you make a micrograph “pop”?
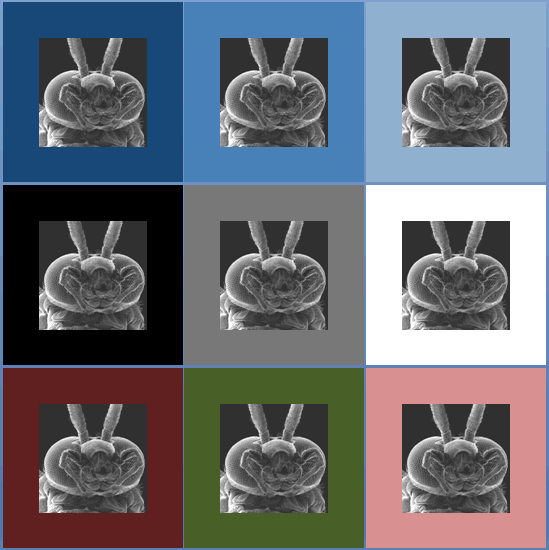
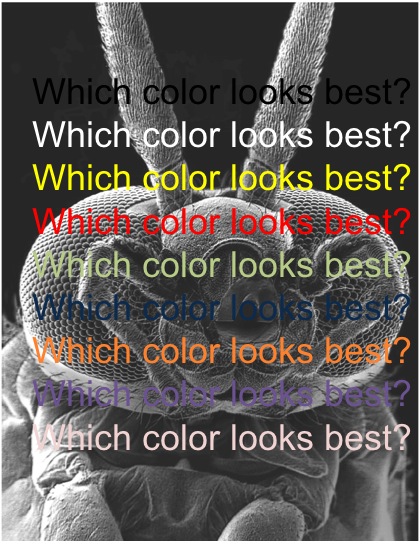
You’d think this is a simple solution, just throw them in PowerPoint and send them off. But let me ask you this…what background color should you use to give the best appearance to your images? Take a look below: As seen, some colors help make portions of the micrograph image stand out while some make them appear ‘washed out’. When I have a choice, I usually opt for a dark blue background. It’s a personal choice. But what about identifying items within your micrograph? What color then??? Again, above shows some options. What color do you use? I generally like yellow or red depending on the features darkness in the image. Sometimes white and black can get lost in features within the image. The best answer is trying it out. WARNING: If you are presenting – make sure, make sure, make sure, to test your images on the projector first. Your PC screen is not like most projectors regardless of the color used. Take the extra time to test your images on the projector and make sure the brightness and contrast levels on your images make them easy to view and follow. Just my $0.02.
|
It has been a long time since I sat down at a EM instrument and I had never thought to put a border around the image – very thought provoking. Would it also make sense to change the gray scale palette into a sepia one – kind of like false colour? It would at least stand out more than just regular EM images.
Another thing that one has to consider in identifying things in the image is also the font in addition to the colour. Since you are going to ‘overwrite’ something with the text, would it make sense to put a small background so the text pops through?

 I’ve been in electron microscopy for over 10 years (my first class on the subject was in 2000), and something that took me a while to figure out is “how can I present my images?”

3M- #ds106 Salon member repost “Making a Micrograph POP!” @cogdog @GoodmanSeth @mdvfunes http://t.co/v7jHCmoAvr