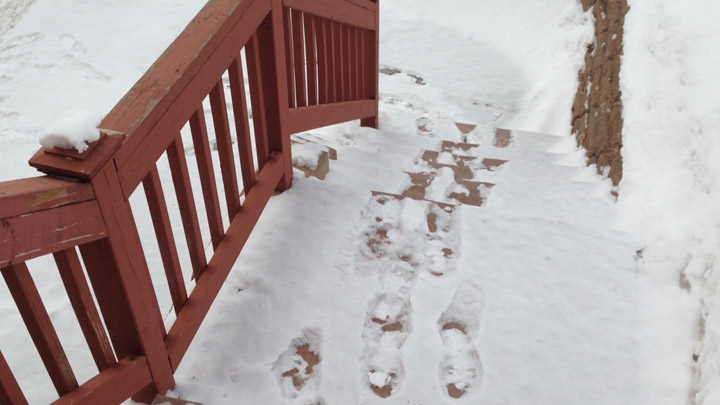
Did you know that your iPhone will shut down if it’s out in 8°F for less than 10 minutes? I do… For DS106 Daily Create TDC 780 it was easy for those of my fellow DS106ers to create a video by stringing together 20 clips taken every 20 steps. That it was a little harder for me to complete this vimeo weekend challenge in the middle of winter in Minnesota would be an understatement. (We have 20″ of snow on the ground this year.) While I wasn’t able to do a 20-20 I did end up with 14 clips. Half of which were taken inside the house before I even opened the door to the arctic winter wonderland called Rochelle’s front driveway.
Not only did my phone shut down, my freezing fingers were close to frost bite by the time I made it back into the house. I think it’s time for me to invest in a pair of those cool gloves that let you use your touch screen controls. BRRRR!!!!! Once I safely made it back in, my fingers warmed, and my poor little phone came back to life, I downloaded my video clips with the Phototransfer app. There I imported them into Adobe Premeire 12 for video editing. I had talked about doing this project last night with my daughter Amber who recommended the song I used…
It took some creative problem solving to use all 20 seconds of each of the clips and end up with a completed video sequence that was only 3:20 min verses 4:40 min. The trick was to use the time stretch effect. I kept a few clips inside the house at normal speed. The outside clips were sped up by 150% to 200%. From experience taking panoramic shots by hand, I knew I how to pan relatively smooth and slow. So when the video sequence was sped up you didn’t feel like “hurling” from motion sickness.
And I learned a new technique today. To reverse the video you put in -100%. That allowed me to create a better flow of the camera pan to be in one direction instead of the back and forth way that I had taken the original video. I chose not to talk while shooting the video. Glad I did. I was able to add two sound effects at the right places: Footsteps in Snow and Arctic Wind Blizzard Snow Whistle made available for easy use with the in program audio effects on Premiere Elements.
That’s it. Post completed while I waited for the video to render and upload to YouTube. I apologize to those of you, like Stefanie Jeske in Germany, who won’t be able to see the video because I chose this time around to use a third-party copyrighted song. I rarely go that route, but the song fit so well. It gave me a giggle and having my little dog Abby be my love keeping me warm put me over-the-top.
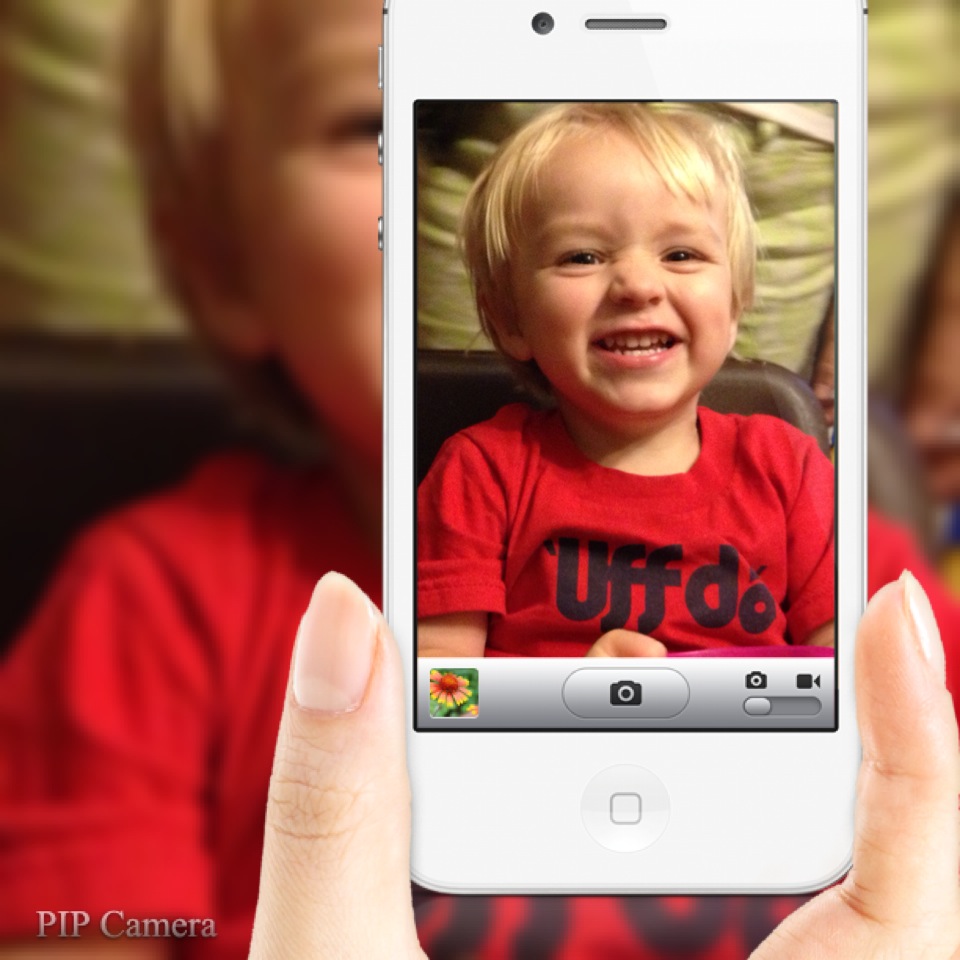
This project all started because I was playing around with a new app, PIP Camera. You know how one thing leads to another in DS106.
=> It’s time for DS106 video weeks. YAY! My favorite digital storytelling medium.
=> I wanted to see what the Picture in Picture app could do.
=> As anyone knows who follows my projects, I have plenty of digital media of my grandson. And I’m not afraid to use it. 🙂
=> Nana’s Nightstand was born.
More often than not a family photo montage is interesting to the family being featured, but not so for everyone else. Some of you may be old enough to still remember being made to sit through a meandering slide show of a relative’s family vacation. BORING! I’m a bit weird in that I’m one of those strange people who actually likes to look at other people’s pictures. I think that’s because I enjoy looking for and learning about the story within the images.
In DS106 we are learning not just how to create with digital media techniques, but how to tell an engaging story. In the making of Nana’s Nightstand I tried to do just that. My choices for photos are based on my feelings that each can tell a story that can be inquired into and shared beyond my little family unit.
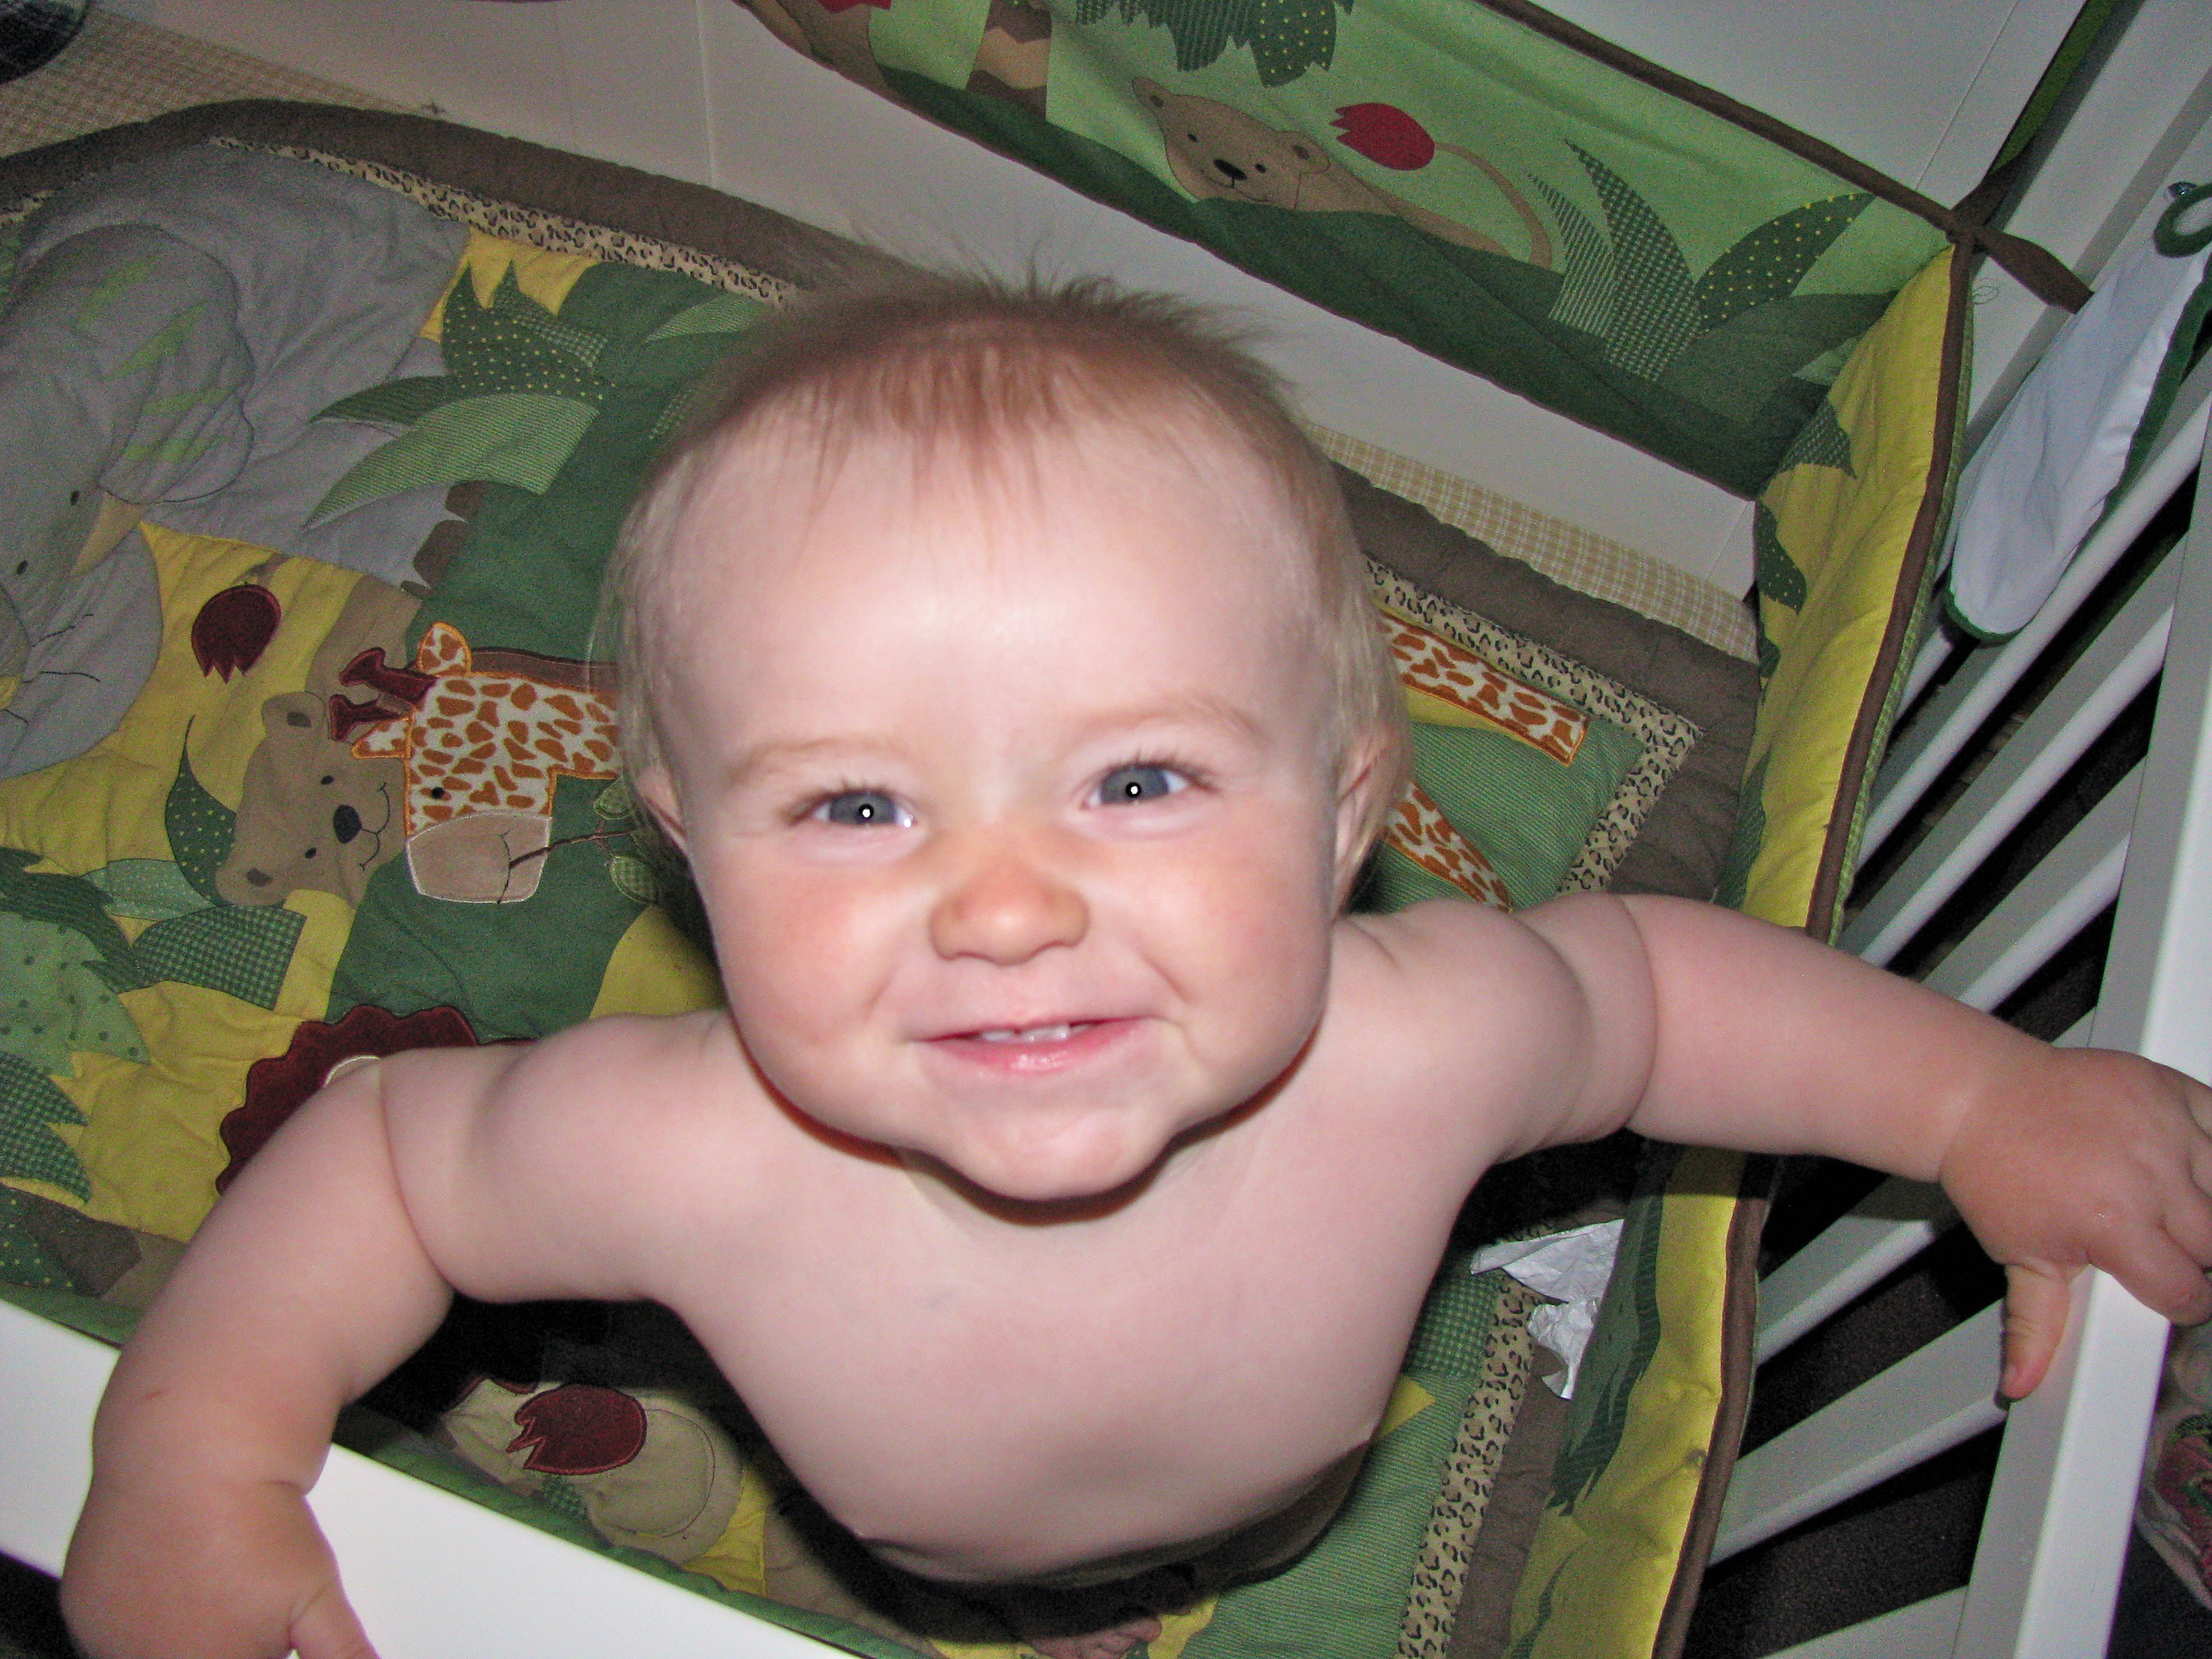
Not much story beyond “Cute Baby”
Sure I had lots of images to choose from that I really liked. Many were nice photos, just not very interesting. A dozen pictures of a happy baby face is cute for the first few. But after that, who cares except for Nana, Mom & Dad. I also had the criteria that each of these would be a photo I’d have put in a frame at my bedside, in my office, as a screen saver, or in a special photo folder on my cellphone. They had to stand out to me and hopefully be captivating to another viewer.
A few of the stories that could use a little more fleshing out…
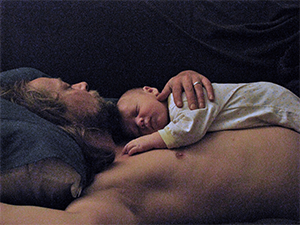
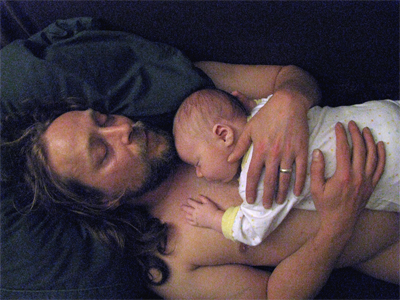
The opening image is of me on my birthday holding DJ and he’s only 20 days old. If you look closely you’ll see that he’s holding onto my finger too. Awwww…….
Daddies are great!
At 0:40 this may look like just a happy baby face, which you aren’t bored with yet since it’s early in the video, but there is indeed a story behind it – the bib: “Daddy Loves Me”. DJ’s daddy, Michael, is the primary caregiver, the stay-at-home dad. This photo is then followed by DJ touching a painted heron on the wall of his nursery that Michael painted.
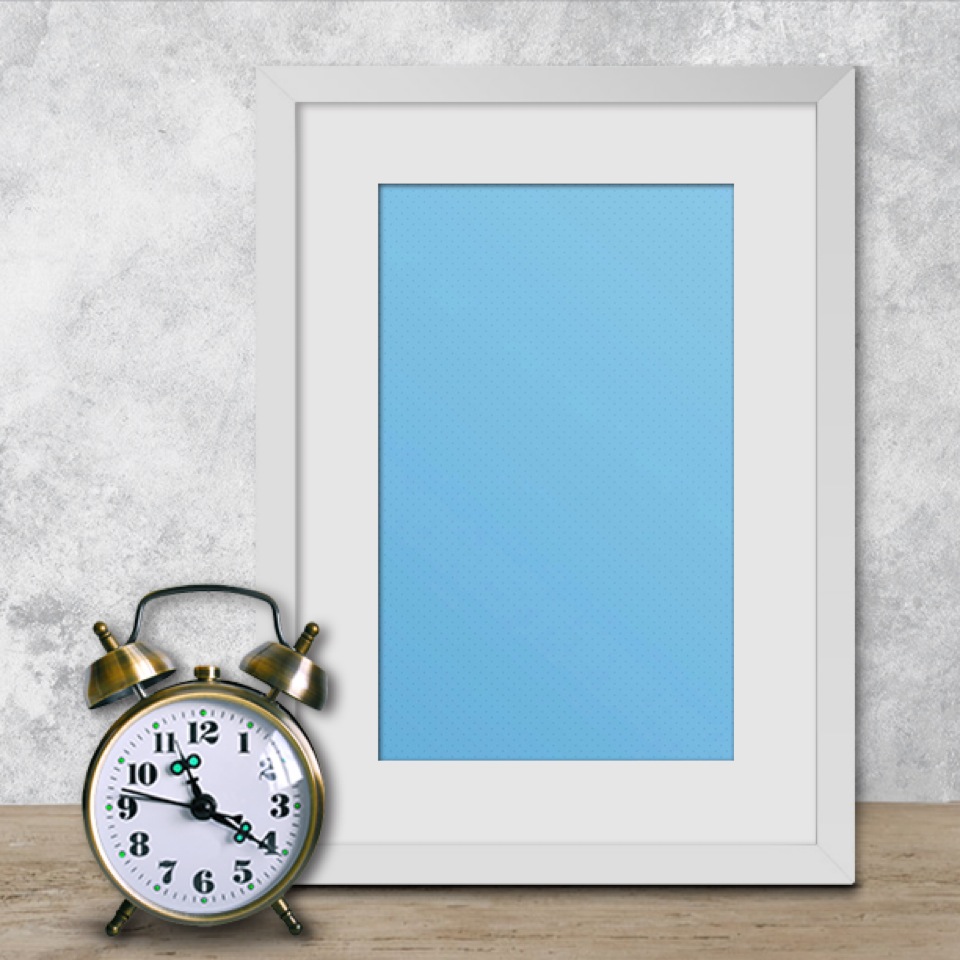
At 1:37 DJ is in the midst of eating his first birthday cake. I had wanted to place the animated GIF of him licking the good stuff off of his 2nd birthday candle immediately following so you’d really get what was going on, but that didn’t fit the linear journey through time story arc. (You did notice the ticking clock GIF on the nightstand throughout the video, right? The minute hand is even moving at a real clock speed until the credit roll. You can read below a quick summary of how I made that happen, with a more thorough production post to come.)
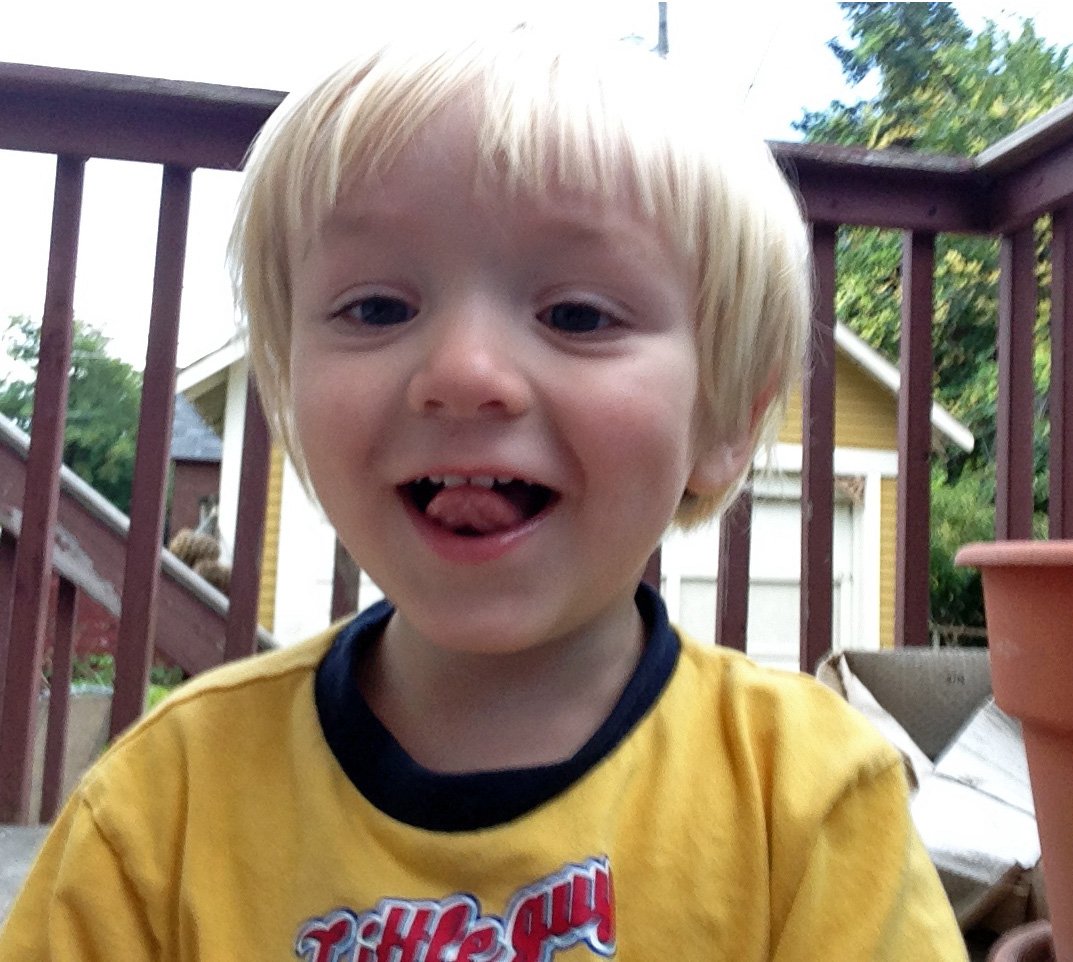
At 4:16 DJ is looking at the camera smiling with his tongue sticking out a bit. If you could see the whole thing his shirt says “Little Guy, Big Temper” – perfect for a little guy just over two years old. And the tongue thing? We were playing with my iPhone, taking pictures of him on the back porch. (I think he may’ve even taken this shot.) I’ve noticed him sticking out his tongue lately when he’s concentrating on a task at hand.
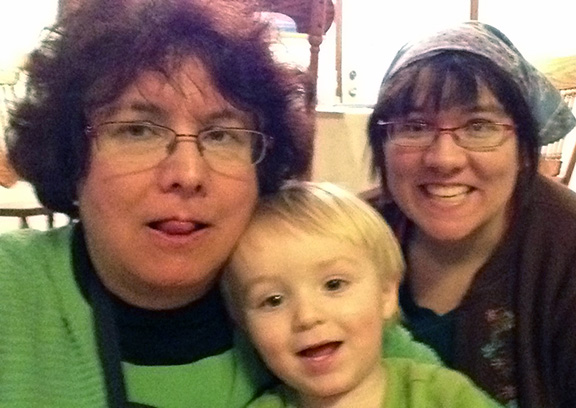
Did DJ inherit the tongue thing from Nana?
I couldn’t figure out where he picked it up. Of course I assumed it was one of his parents. But no….. While going through choosing the images I’d use for this video, lo-and-behold, I found the culprit. It’s <gasp> Nana! I’d never noticed myself doing that before. Did he inherit it from me? Or maybe I picked it up from him?
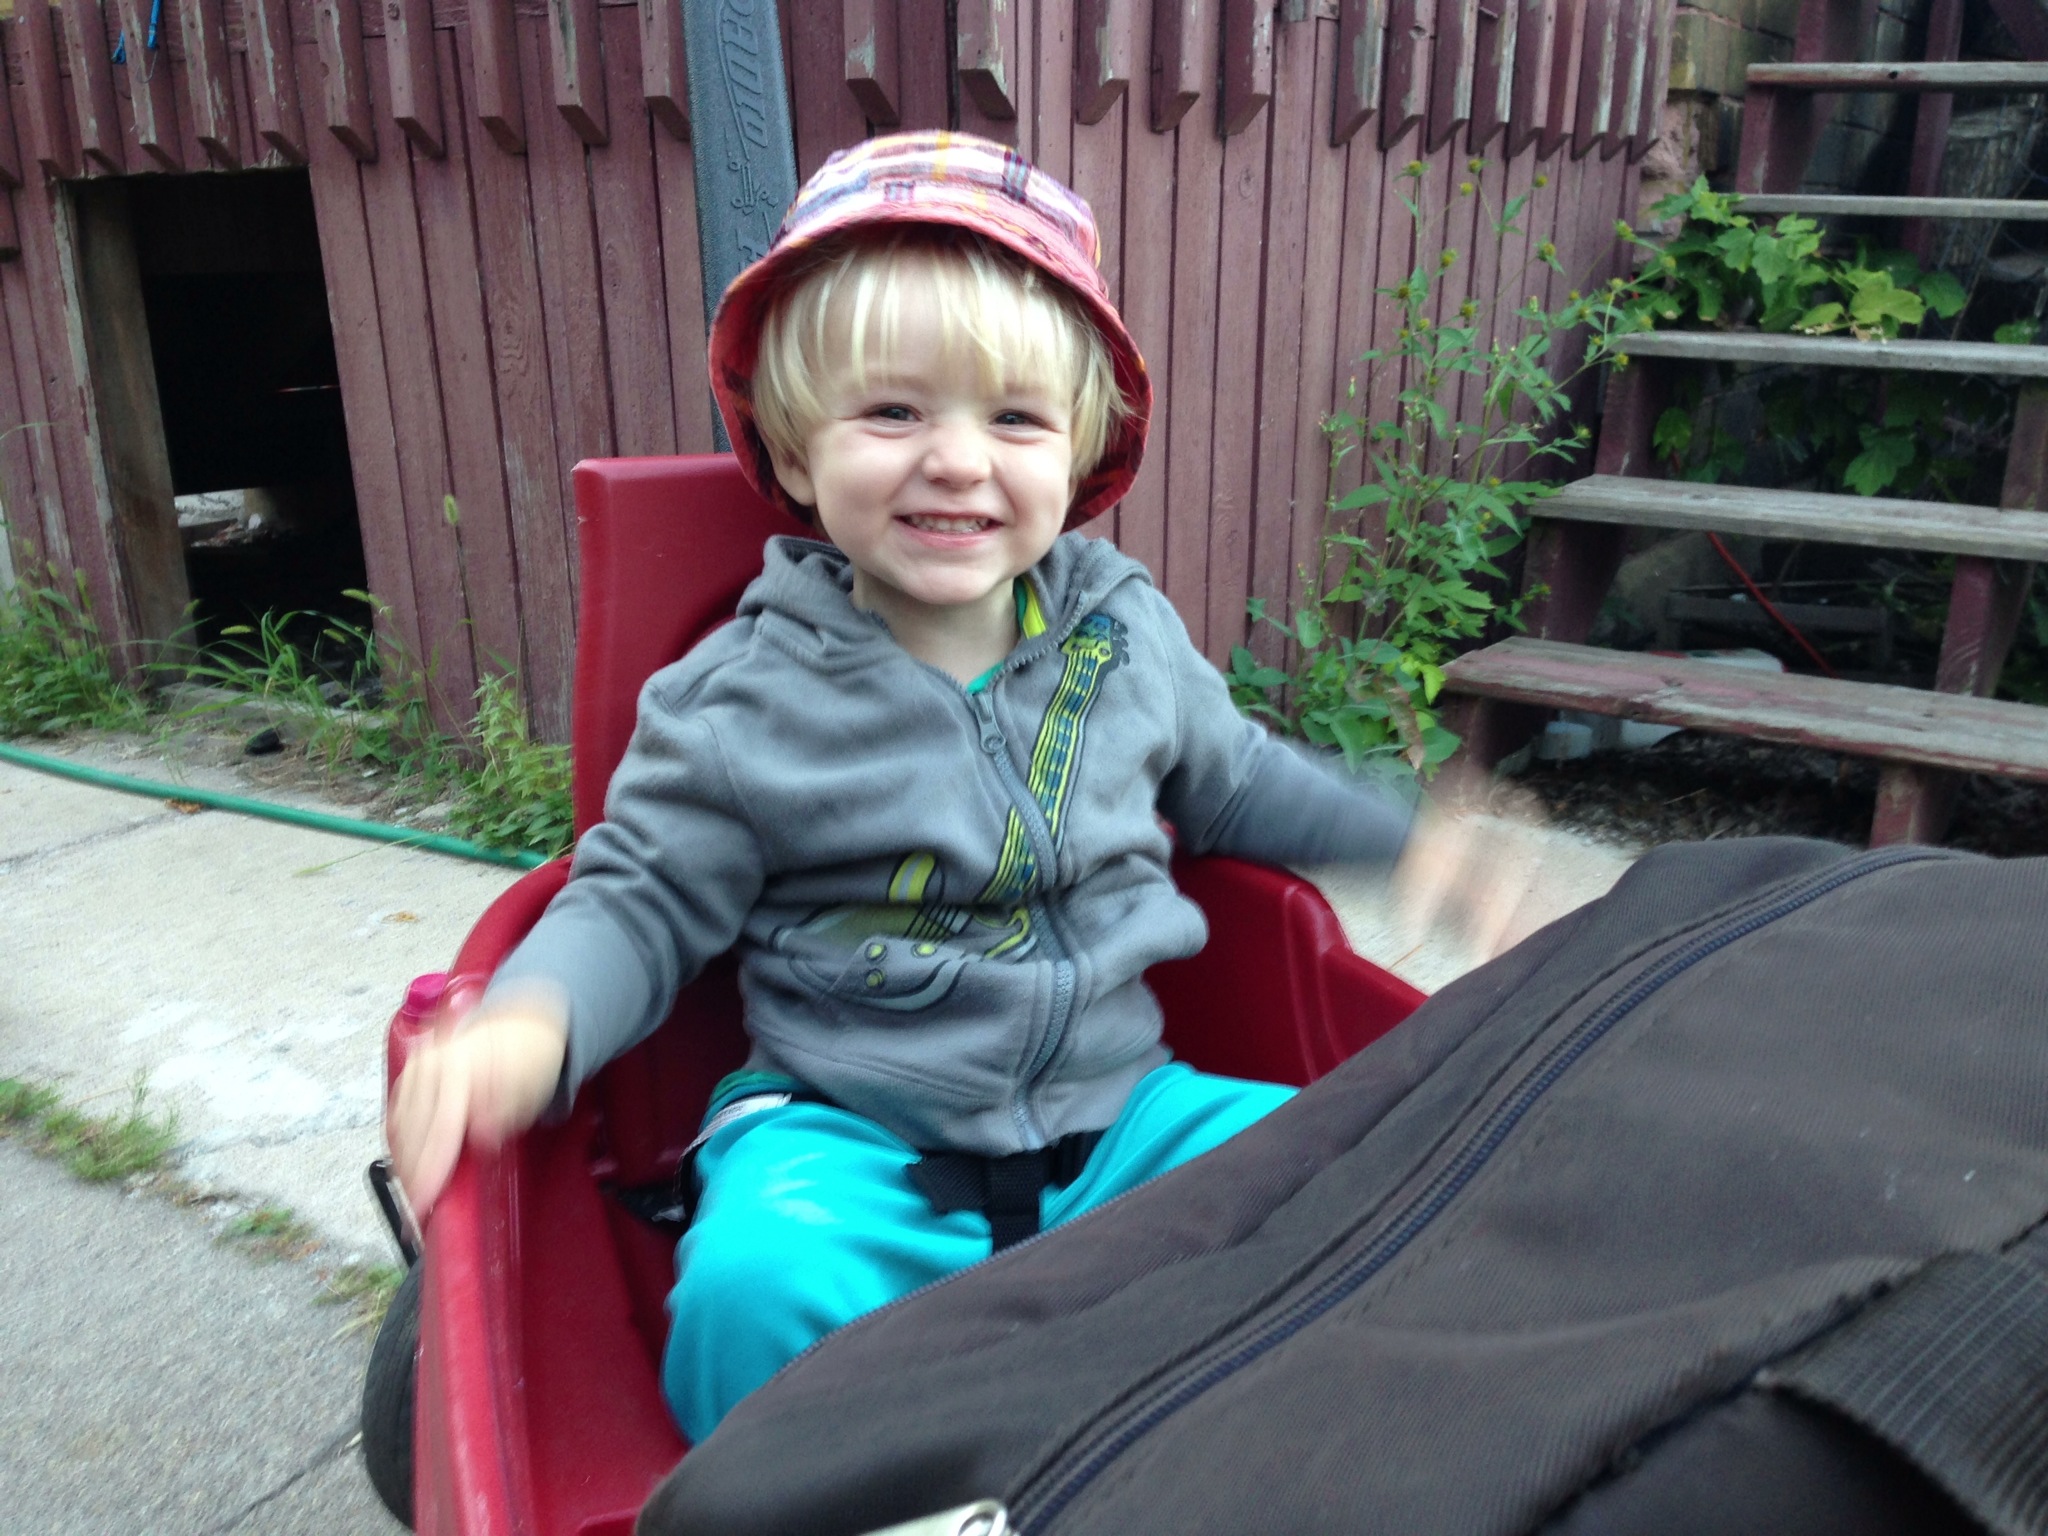
I play guitar just like Nana.
At 4:24 DJ is sitting in his wagon, which could be an interesting story in and of itself. But look closer and you’ll notice that his jacket has a guitar on it. Nana plays 12-string guitar and he’s recently started picking up the wooden bellows by the fireplace pretending it’s a guitar. He also has an inflatable pink electric guitar he likes to play with.
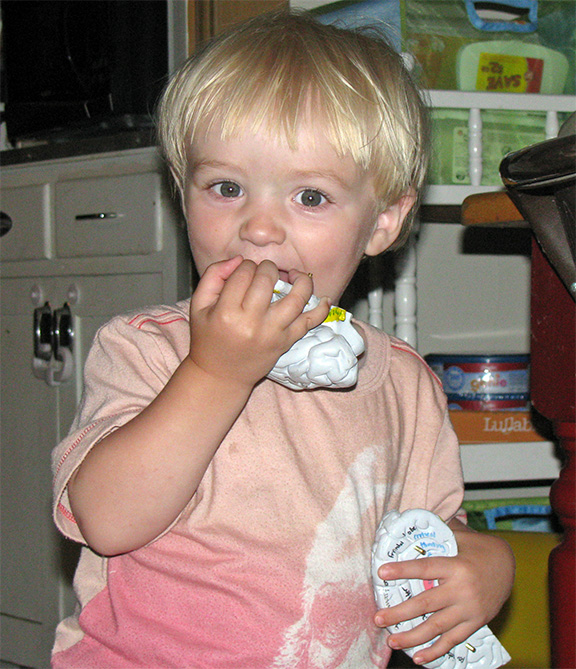
Eating Mommy’s Brain
At 4:38 DJ is munching on… get ready for it… a plastic brain. His Mom works in a neuroscience lab and is applying for grad school right now. This is a teaching aid model of a real brain she brought home that you can open up with the parts labeled. (As a side note, my daughters played with molecular model sets like most kids play with Tinker Toys while growing up. Mixing of work with life is definitely a theme for me.
Home Screen Uffda
The final image at 4:52 of DJ in his Uffda! red shirt is currently my cellphone lock screen. While one might assume this is just a Nana favored terrific toddler pic, there is more. UFFDA! is heard uttered by Minnesota natives where we live. While other upper mid-west states use this phrase, to me it signifies being home in Minnesota. In all honesty, there are a few photos in the montage I admit are there simply because I love them. After all, I’m the creator of this art piece and the power of the editing lays in my hands.
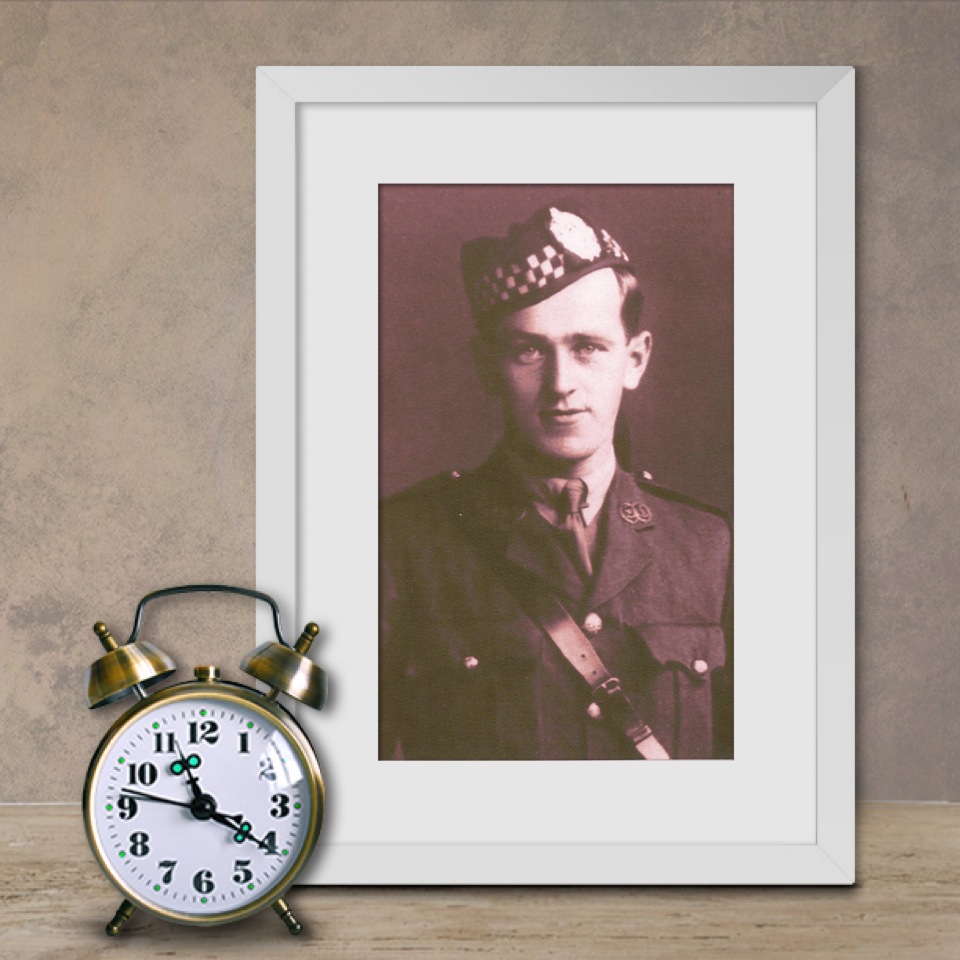
Remember at the top of my post talking about how one thing leads to another? While wandering around the Picture In Picture app I found a frame that was sitting on a bedside table amongst the many options the app provides. This led me to thinking about the photo of John Johnston’s grandfather that he talks about sitting on his Gran’s and later his mum’s sideboard in the DS106 Radio piece we produced a couple of weeks ago. I couldn’t resist making an image for him. And while I was at it I made some for Seth Goodman too. (Our fellow radio show collaborator @GoodmanSeth Twitter) And guess what? When Seth received the photos he wrote back that his mom had just come out of a planned surgery and he was looking forward to showing them to her when she came out of the anesthesia. You can see all of the PIP images at the end of my radio show blog post, “Spinning Yarns for DS106 Radio”.
THE PROCESS
The process to create this video required quite a bit of fiddling around with different platforms, media, editing programs, etc. The original photos were dispersed amongst four different sites: my iPhone, iPad, computer, and a shared drive on my website. Once I found what I was looking for, which was no easy task, using the Photo Transfer App I was able to easily download everything I needed onto my iPad which I found had the best user interface to make the picture in picture images. Once the framed images were created I uploaded them to my computer and imported them into Adobe Premiere Elements 12 for the Mac OS. The final PIP images all have the same background. So when you place them one after the other it looks like only the photo inside the frame is changing. The film dissolve transition worked well with this effect.
I’ve made a lot of these types of video montages before. But this time, after going through week 10 with the DS106 making of movies material, I was more aware of the point of interest in the images and where my eyes were drawn to. It seemed I was drawn to DJ’s eyes and face most of the time. I watched the video carefully and noticed that in some spots I was moving up and down and up and down and it was a bit disorienting. I decided to change the order or even replace some of the photos to create a more relaxed visual experience.
MAKING GIF TIME
There’ve been comments about the thoroughness of some of my posts when it comes to sharing my production notes. Since I do a lot of my learning by trial-and-error, it’s mostly about me wanting to capture in writing what I actually did to create something so that I can do it again next time. [Tiptoeing Through HTML] That’s certainly the case here. Making the animated clock GIF and getting it to all work well in the final video was rather complicated. I’ve decided not to include it in this post. But for me and others who are curious and want to learn how I did it, I’m in the process of creating a separate post to capture it all.
The short version:
Found an animated clock GIF on-line
Used Photoshop to copy out the clock faces from each layer
Made a new GIF with a transparent background
Overlayed the new clock face GIF into the video
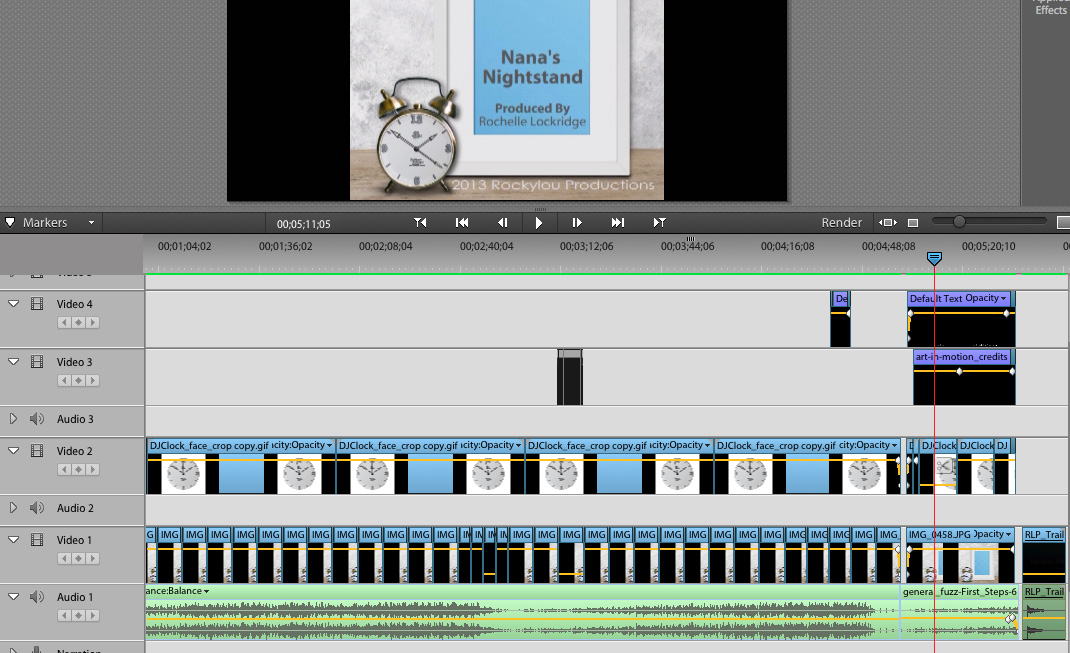
Below is a screen shot of my Adobe Premiere Elements 12 video editor tracks. Starting from bottom to top …
Audio soundtracks
PIP Images
New clock face GIF
Animated GIF of DJ licking his 2nd birthday candle + Text for “Yum Brains”
Template files for download and use in your projects: Clock GIF with 25 frames that when held for 2.41 seconds each they produce a one minute GIF. [Photoshop PSD file]
The blue background inside the frame will allow you to use the video merge blue screen effects in more advanced video editing software.
Yesterday’s ds106 daily create tdc644 was all about capturing an image of a dog. Although the suggestion was to either take a picture or to draw one and take a picture of that, I figured since I have the digital media already hanging out on my computer, why not go a step further and share my little doggie Abby on video and throw in a new GIF for good measure.
She’s such a media diva. Or is it that I’m the digital media diva and she’s just an unwilling subject of my creative endeavors? But then how would you explain how she’s annoyingly tried to insert herself into a couple of my projects? [The making of the Obruni podcasts on the Scott Lo LoDown summer of 2013 and the Headless ’13 week 4 audio reviews.] Which subsequently required the editing out of her attempts to “audio bomb” my projects. I’ll think I’ll leave those bits and pieces for an audio out-take reel if I ever decide to make one.
To get practice in basic video sequencing, locate at least two smaller portions within these clips that demonstrate the points you made in your analysis above. We want you to put these scenes together in a short montage, sequencing them together so that you get some basic experience with video editing.
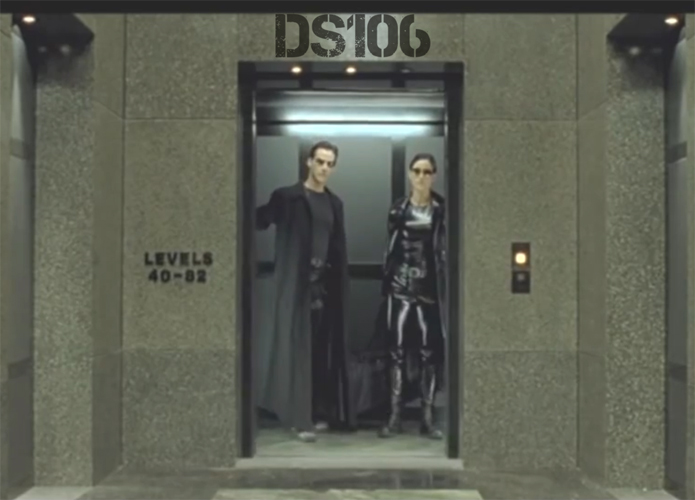
I was drawn to snippets of the dialogue that I felt I could string together to have them talking about the chaos we experience and the perplexing situation we have trying to tell someone else what DS106 is all about.
For my video editing software I used Adobe Premiere Elements 12. Making the clip transitions cleanly from one to the other took a bit of fiddling around by shortening and lengthening the clips so that I didn’t have massive jumps between shots that looked out of place. At about 20 sec in there’s one cut that didn’t quite work right. The rest I’m pretty satisfied with. I really had a chance to see and understand how the cuts from one character to another or one scene to another are made as I put this together.
The audio went pretty smoothly. There were two spots where I wanted to dub in “DS106” – one with Neo and one for Morpheus. It helped that my voice at the moment is pretty low due to a cold, but I’m not really satisfied with the quality of the dubbing job. I opted to let it go since I didn’t want to work that hard to make it “perfect”. I know I could’ve taken the audio into GarageBand and played around with effects and stuff, but it was good enough this time around. Personally I think it’s funnier that it stands out as being dubbed anyway.
The DS106 logo overlay onto the elevator was created with the addition of a .png formatted still image onto a new layer above the video track. Reducing the opacity down to 70% made it look more realistic. Finding the location to place the logo was the hardest part. I had to look for a somewhat logical spot in the video that had a stationary image for at least 5 seconds. Above the elevator worked fine. The logo had to be resized initially, but no zooming or tracking was required. Both a white and a black version of the logo are attached below for others to download and use in their projects.
During week 2 the DS106 Daily Create TDC607 challenged us to create an exciting movie trailer for our DS106 website and use “the voice”. Wanting to make the most efficient use of my creative time, I decided to modify the project so that I could use the art I created in real life. So I made a more professional looking trailer to highlight Rockylou Productions as a whole and how it is actualizing our vision of cultivating creativity and raising visions.
I had started out contemplating how I could make the trailer with iMovie. But the only semi-workable option was to use the version I had on my iPad. I skipped upgrading my desktop version to iMovie 11, which was supposed to have that functionality (I still have ’09) after reading the absolutely horrible reviews given by current users. So I did a trusty Google search on creating movie trailers and found a YouTube video tutorial on “How to Create a Movie Trailer For Free“
That led me to a site called Flixpress.Com. There you could choose from a number of trailer templates. I checked out the free ones and chose the Icy Spin T9 template which allowed me to have 8 images, and title text at the beginning and end of my trailer. In theory this should have been a no-brainer. Just pop the pictures in and away you go. But no…. that’s hardly ever the case.
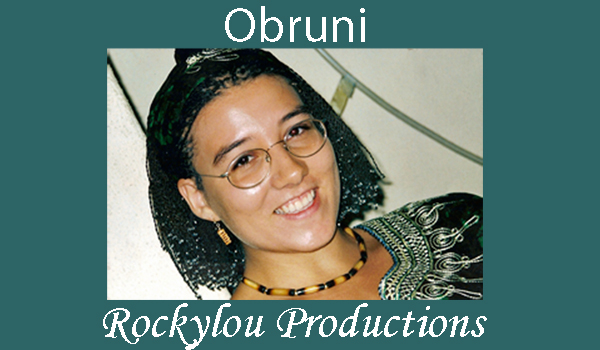
Choosing my eight images was pretty easy. I wanted to highlight the my Rockylou Productions projects that exemplified “Cultivating Creativity” and “Raising Visions”. Once found I needed to format them to the requested 600 X 400 px within Photoshop CS5. But upon preview I found out the Icy Spin T9 template actually crops the images to 600 X 349 px. Fortunately most of the images could be cropped without a problem. Only one, Obruni, had to be modified significantly to make it fit correctly. I ended up creating quite a few draft versions before things clicked for me. Maybe if I’d paid for the pro version I would have had more editing capabilities with my project, but for free I had to start over again from the beginning every time. PAIN!!!
Saving your file puts it into the system for processes and in a minute or two they send you an e-mail that lets you know your video is ready for preview and downloading. For free you get 640 X 480 SD resolution. NOT IN MY WORLD! I ended up paying $2 to have an HD version made, since I wanted to import it into Adobe Premiere Elements 11 to add a music track and the Rockylou Productions animated Logo/ bumper at the end. (I actually spent $4 because the photo order mysteriously shifted with the first purchase.) I made a conscious decision to not add “the voice” as I felt it would have been a distraction. It reminds me of an anecdote I heard recently from a DS106 talk (sorry I can’t remember which one, either Gardner Campbell or Jim Groom) about a kindergarten teacher whose students always had the best art projects in school. When asked how she did it, she said she knew when to take it away.
If you’re interested I’ve included below an overview from previous post on how the animated logo was made.
I’m pleased with the final product and have already posted it on my Rockylou Productions page on Facebook.
Music: “Find Your Style”, Newline variation, by John Defaria
Smart Sound Personal Use License purchased from the Vimeo Music Store for $1.99
=>Rockylou Productions Animated Logo
The Rockylou Productions animated logo at the very end of the video was created by incorporating a dissolve transition between two logo images designed by Amber Lockridge. Transitioning from b&w to color with a slight increase in the size of the color graphic by 1% is meant to give the illusion of growth and expansion, an important value statement for Rockylou Productions.
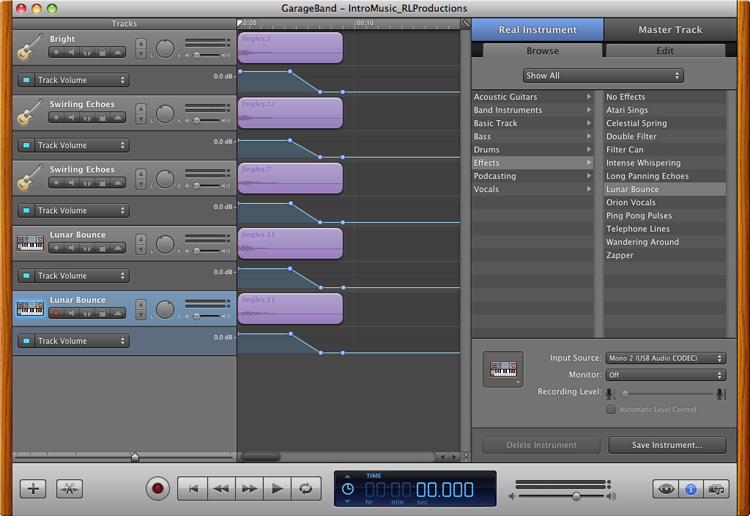
The audio logo for Rockylou Productions was made with GarageBand and a simple “D” chord that I played on my 12-string guitar. I took the original recording and added a Bright Guitar effect to the basic track. I then duplicated the original track four times, and added dimensionality to the chord by adding a Lunar Bounce to two (panning each slightly left and right) and a Swirling Echo effect to the two remaining tracks, also panning them slightly left and right. With the addition of the Ambient – Wide Spaces effect to the master track the memorable audio logo for Rockylou Productions was born.
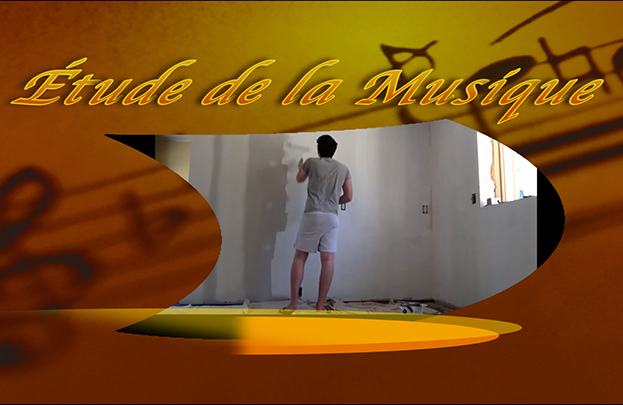
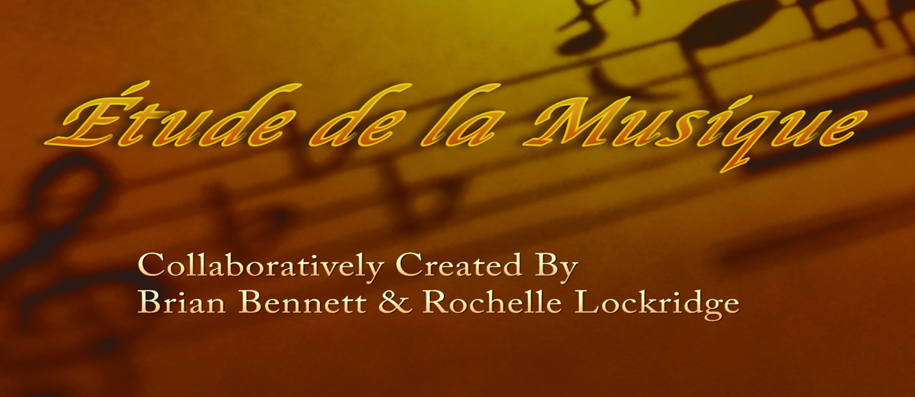
Music is a powerful force that can change the mood and even the meaning of a video. I’ve been wanting to illustrate this concept for awhile and when I saw the tweet and original video created by Brian Bennett I knew this was my opportunity. Because of the video’s simplicity with one on-going activity (Brian painting a room) as the viewer moves through different styles of music one can feel the effects of each piece as it relates to how the video is experienced emotionally.
“A Study of Music” illustrating the power of audio.
Brian and I talked about the power of music and we both thought there was/should be a ds106 audio assignment that did this, but we didn’t find one. I tweeted Brian (@bennettscience) that I had wanted do this sort of video and put up an assignment, but didn’t have a good illustrative video to use as an example yet. I asked if he’d mind me using his. It was no problem. Now one of us just needs to write up and submit the assignment.[UPDATE: AudioAssignments1193 has been created and ready for you to try.]
This music video was very simple to make. I knew that I wanted a variety of music styles: soundeffectish, comedic, dramatic, simple, complex, ect. Figuring out how to search on the freemusicarchive.org site took a little time, since this was only my second time visiting. But once I had my key words down I was able to locate about 15 songs that I thought might work and downloaded them. I was able to keep track of the artists names and songs for later attribution from their file names. That was a nice bonus, as properly siting my sources can be a real headache and time hog as I try to rekindle my search logic when I found them the first time around. HINT: To keep track of sources pulled from the internet, create a new post, keep it in draft mode, and copy & paste all of your links with a summary of what they are into the awaiting post. When it comes time to write up your post you already have a big chunk completed, and no retracing your steps.
Once I had the songs it was a matter of placing them onto the timeline and seeing what fit where. (I used Adobe Premiere 11 as my video editing software.) Making effective transitions between the pieces of video and music are important so that the viewer is not distracted or irritated, but instead able to easily go with the flow. Fortunately, I didn’t have to resort to my first plans of chopping into the video and adding fade to black transitions with each change of music. As I worked with the media I noticed there were natural transition points that I could use instead. That made it an even more powerful illustration because there was a continuos visual flow.
Having Brian’s original music, My One True Love by Ben Saretan remaining at the beginning, middle, and end of the video was important to me. As with many of my projects, I continue to be amazed at how things can miraculously fall into place. And that was certainly the case here as I noticed and worked with the natural transitions. Brian’s music remained in the locations I had intended and the music selections on either side “made sense”. There is a nice flow both from a visual and auditory perspective.
Did you experience the video segments differently as I had intended? What emotions did they bring up? Which music selection(s) did you enjoy more? [Start time links provided below.] Did you feel that one song was more suited to Brian’s video throughout? Why? I’d be very interested to hear your reactions and comments to the piece.
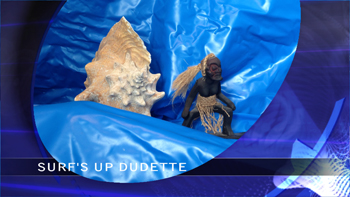
My first ever attempt at creating a stop motion video, Surf’s Up Dudette was a success. Inspired by the 7/28/13 DS106 tdc567 daily create to “Make a stop motion movie that brings something to life in a unique way.” I sat at the kitchen table this morning over breakfast playing with little objects I had around the house, gathering ideas and seeing what would be involved in making one of these things. In the end I decided to bring to life the little surfer “dudette” (feminine form of “dude”) that usually sits on my mantle above the fire place.
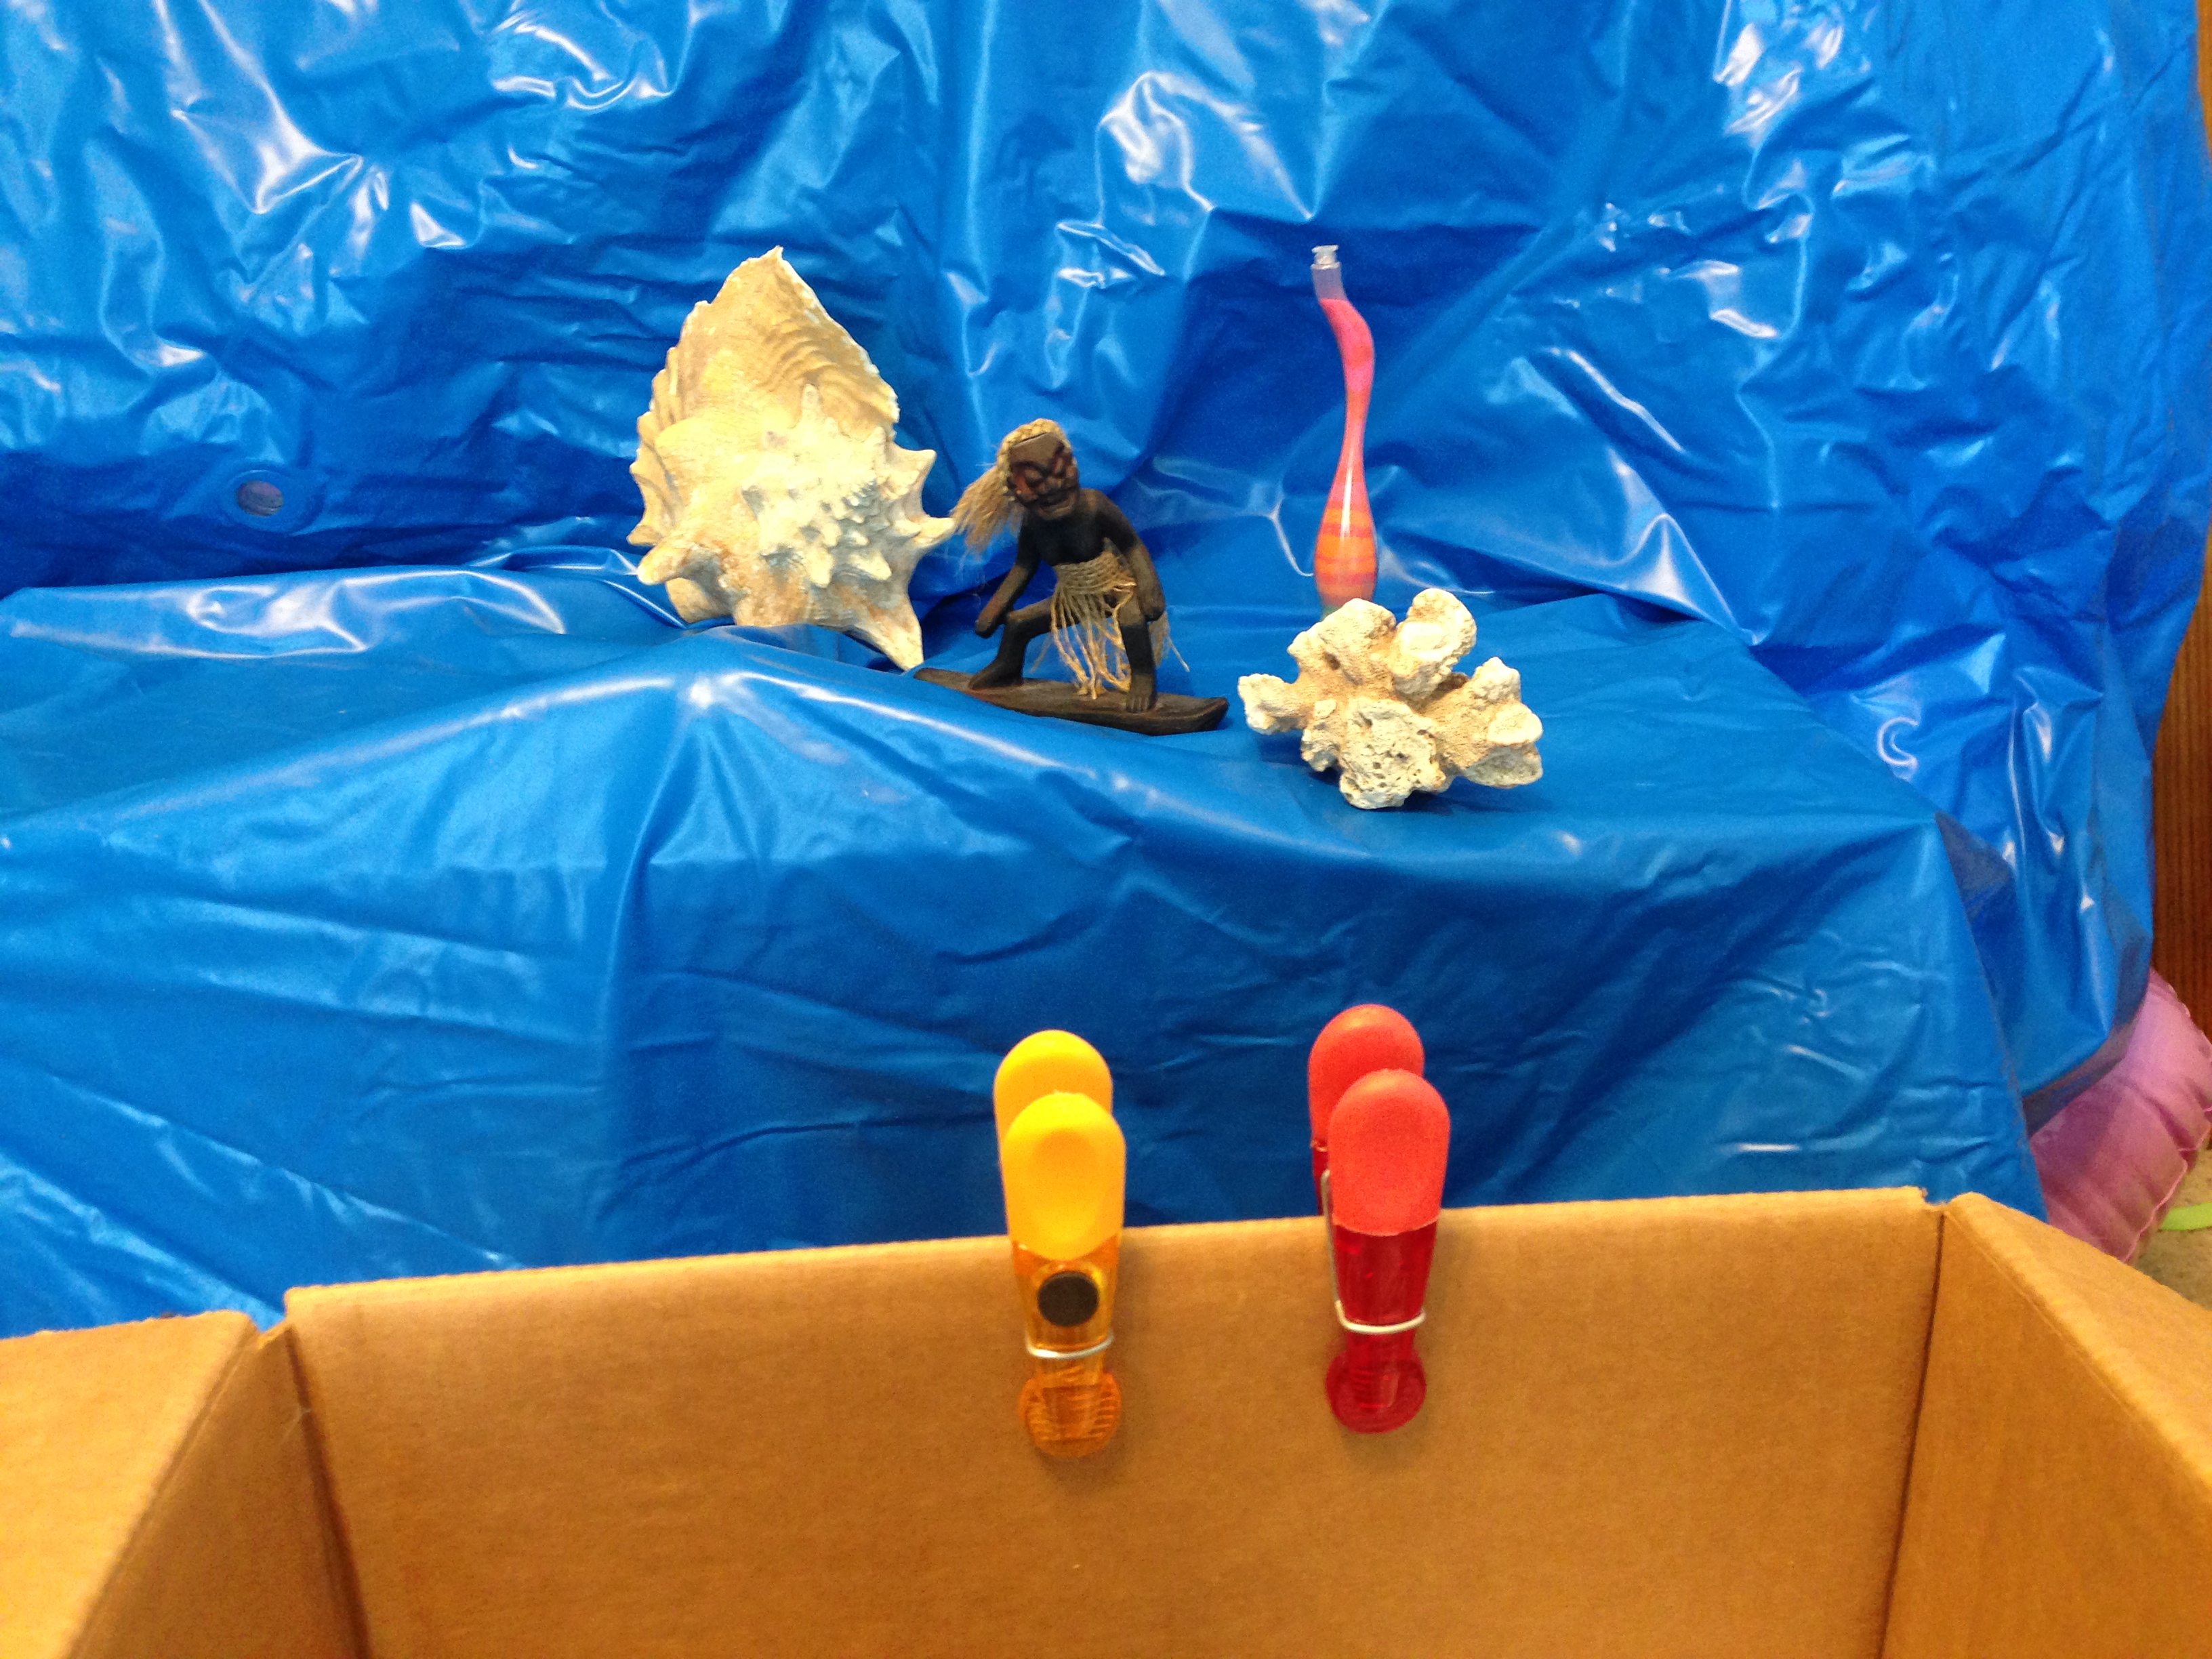
DJ & his new Hippo Sprinkler Pool
The blue background is the bottom of my grandson DJ’s new Hippo Splash Pool draped over a piano stool. (Here’s a GIF I made of him recently.)
To add some interest I then put a tennis ball under the pool at the front to look maybe like a wave. Then added a shell, a piece of coral, and a colored sand art bottle. This was actually my second attempt at taking the photos. I didn’t realize how many I would need to get something that was of a reasonable length to watch. In my first set she only surfed by once and it lasted maybe 5 seconds with the extremely short frame length required in the final video. I found this very similar to creating a GIF. As a matter-of-fact, I tested it out with my iPhone gifRus app before moving onto loading everything into Adobe Premiere Elements 11.
With the second round of photos I had her surf through the scene then back again. That way I could easily repeat the sequence in my video editor and it would look more natural. She then surfed by three times to give me about a 30 sec clip. I like the illusion of slight movement of the “ocean” because of changes in light in the room and my accidentally moving the plastic pool.
Scene set up to take photos
There are a few shots though that are blurry and I can see that I moved the camera a bit as well. Next time I will use a real tripod and my regular camera instead of a cardboard box with clothes pin clips to hold my iPhone. To add the title and credit sequences I added a longer empty frame at either end to aid in the transitions. You can’t do a 1 second fade with a 0.7 second image frame!
The addition of ocean sounds and background music really added a lot to the story to make the whole thing much more entertaining for the viewer. I found my music with a Creative Commons – attribution license at www.freemusicarchive.org
The DS106 Daily Create tdc566 for 7/27/13 was to “Randomly combine unused bits of video to create a surreal dream video with appropriate soundtrack.”
Aren’t these supposed to only take 20-30 minutes to complete? How in the world can I do that when it comes to video? I can’t post something out there that I wouldn’t be able to look at myself! So yes, this video sequence took me much longer than anticipated. Just gathering the unused video clips took more than 30 minutes. Video has been my digital storytelling medium of choice, and I’ve got a lot of it.
I wanted to keep the video at about 2 minutes, since that’s about the attention span of an average viewer. I choose a couple of different themes that I felt told something about my life and representative video clips for each. Then the soundtrack for the entire video was created with the “Synthetic Design 02” audio clip in GarageBand. The final video was pieced together in Adobe Premiere Elements 11 for the Mac. The image strip below was made by taking freeze frame shots from each video segment and using Adobe Photoshop Elements 11 to put them together.
MORE INFORMATION ABOUT THE CLIPS & FINAL VIDEOS THEY REPRESENT
Hubble Telescope Photos [Link to one of the first videos I ever created, “Soul Journey”. This has a whole series of Hubble telescope photos along with poetry and a hauntingly beautiful soundtrack.]
Cooking at my Mom’s house out in Eureka, California this Christmas [Link to the video “Cooking With Tangie” created from this trip.]
The mouse hanging by it’s tail is from a video clip I made for a scientific paper my daughter was submitting to a journal. (I thought it would be funny to add it to the end of the cooking segment.)
A trip to Duluth, Minnesota
A 2010 trip to Europe: Abby Road in London & a street shot in Brussells [Link to “London Town” photo documentary of the trip]
 Did you know that your iPhone will shut down if it’s out in 8°F for less than 10 minutes? I do… For DS106 Daily Create TDC 780 it was easy for those of my fellow DS106ers to create a video by stringing together 20 clips taken every 20 steps. That it was a little harder for me to complete this vimeo weekend challenge in the middle of winter in Minnesota would be an understatement. (We have 20″ of snow on the ground this year.) While I wasn’t able to do a 20-20 I did end up with 14 clips. Half of which were taken inside the house before I even opened the door to the arctic winter wonderland called Rochelle’s front driveway.
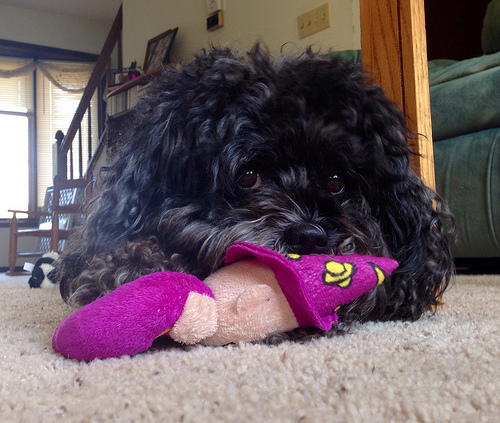


